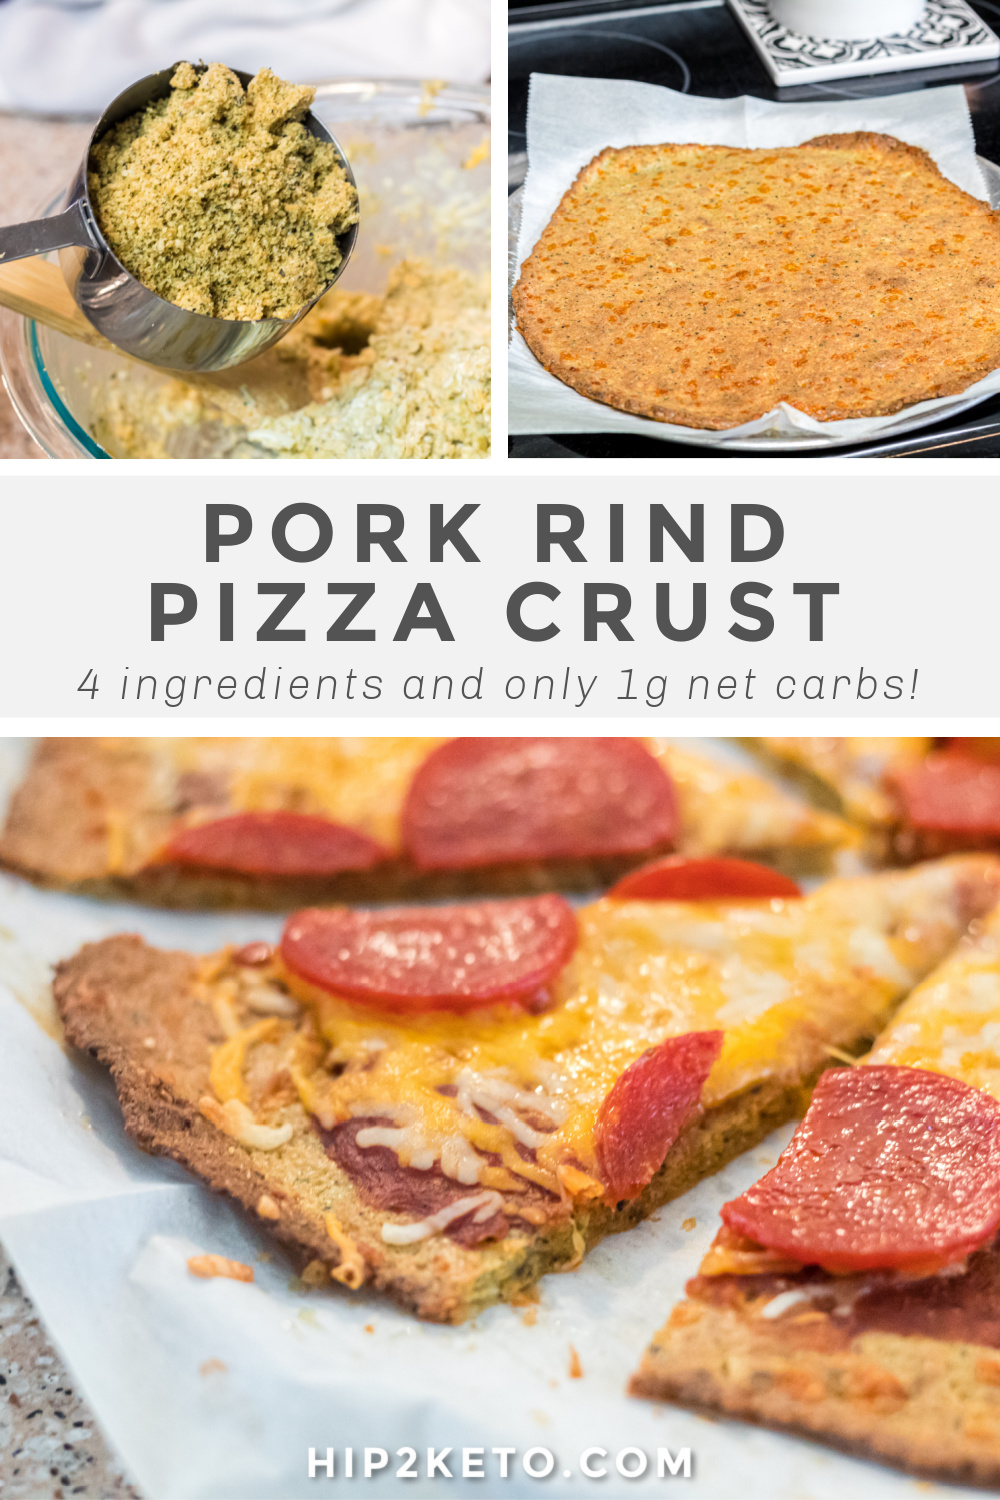
The Best Pork Rind Pizza Crust (Say Hello to Thin & Crispy Pizza!)
Make it a pizza night!🍕
Searching for a keto pizza crust that’s crunchy and full of flavor? I personally love a good cauliflower and broccoli crust (and of course, you can’t go wrong with fathead dough), but if you miss a thin crust pizza, I’ve got the perfect solution! You can actually make a crispy and delicious pizza crust with pork rinds.
Now hear me out, and don’t knock this pork rind pizza crust idea until you try it. I personally LOVE it so much that I even made a video showing how simple it is to make and how delicious it is to eat. 😋🍕
Pork rinds are already crunchy, and we use them for low-carb “breading” on a lot of keto recipes, so why not use them to make a pizza crust?! This recipe is so simple to make and requires only a few ingredients, too!
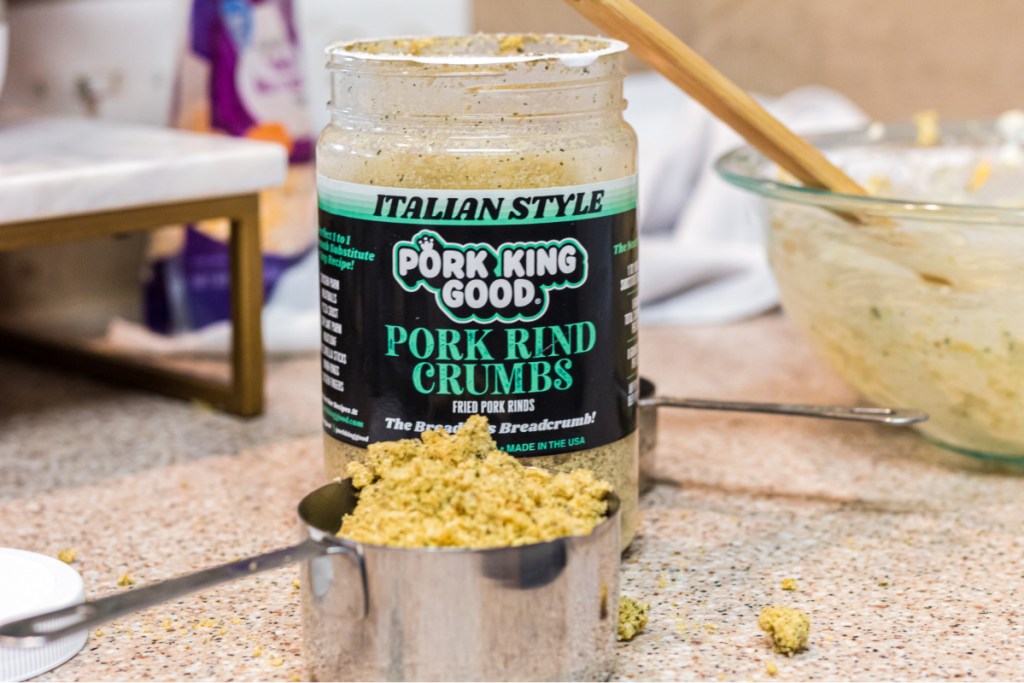
I used Pork King Good Pork Rind Crumbs with Italian Seasoning which made my crust so crunchy and flavorful! I definitely recommend these! My sidekick, Taylor, even wrote up a whole post on how much she loves these pork rinds.
Here are a few recipe tips to keep in mind when making keto pork rind pizza crust:
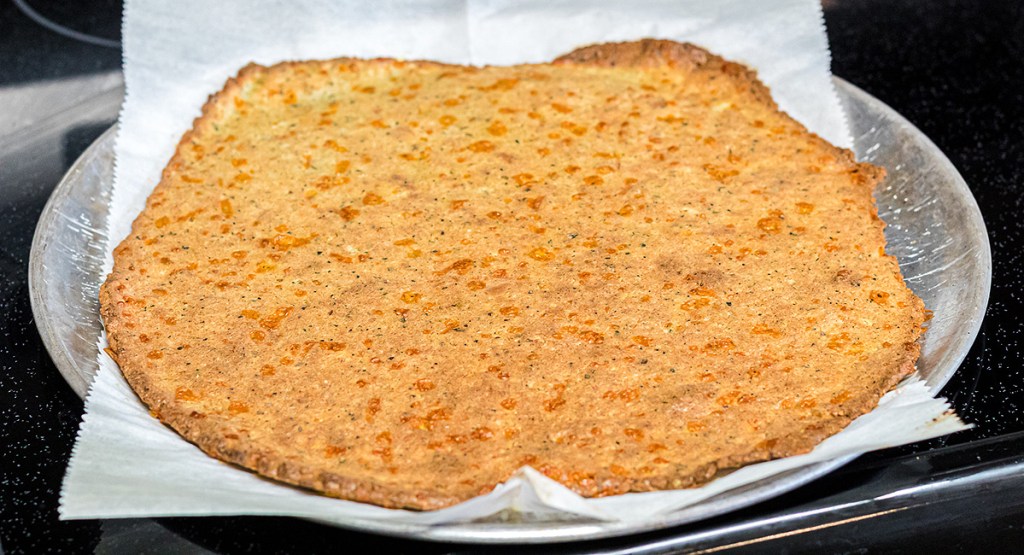
- Be sure to bake pizza crust for 20 minutes before applying toppings. If you add toppings when this crust is uncooked, you’ll end up with a soggy base.
- If you’re in a pinch, you can pulse pork rinds in a food processor to produce the crumbs needed for this recipe. It would be interesting to see how other pork rind flavors work for this recipe.
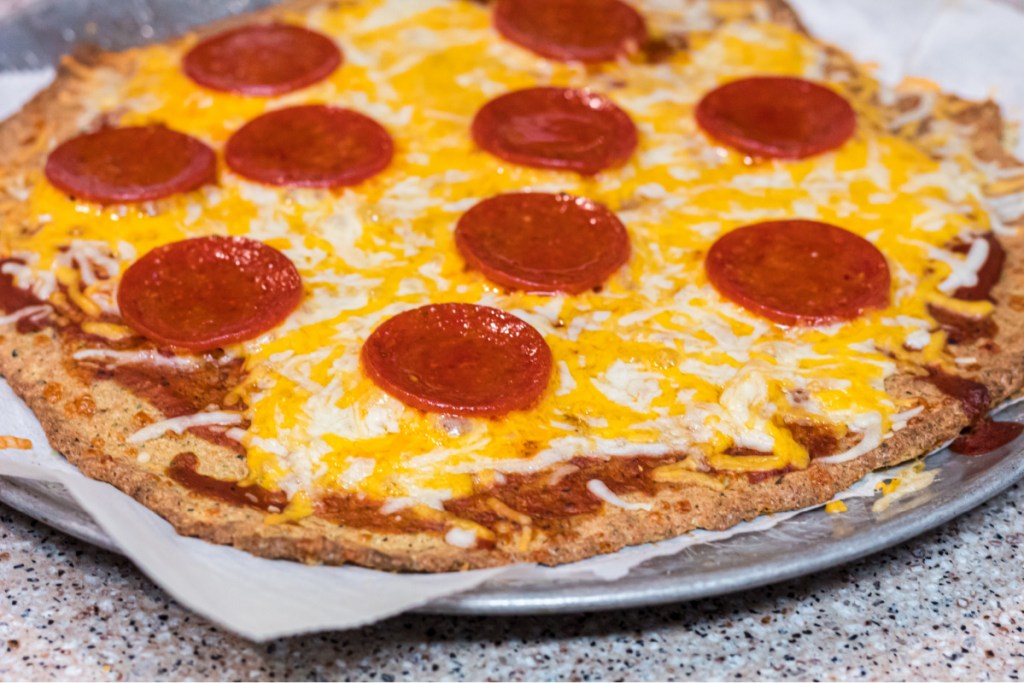
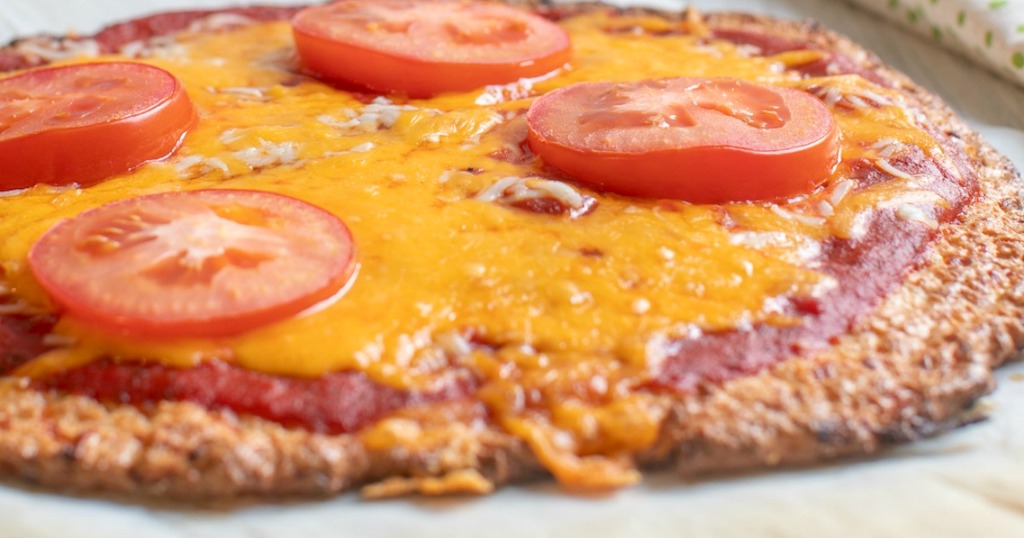
- The toppings are up to you. Low carb marinara with a healthy dose of cheese is great for a classic, but you can also go supreme with loads of veggies and meats!
- The crust freezes beautifully! Make a few pizza dough balls or flat crusts and freeze them, so when you’re ready for pizza you can just pull out your dough and you’re ready to go.

Pork Rind Pizza Crust
yield: 8 SERVINGS
prep time: 5 MINUTES
cook time: 30 MINUTES
total time: 35 MINUTES
Pork rind crumbs are the star of the show in this low carb pizza crust that's as enjoyable to eat as it is to make!
Ingredients
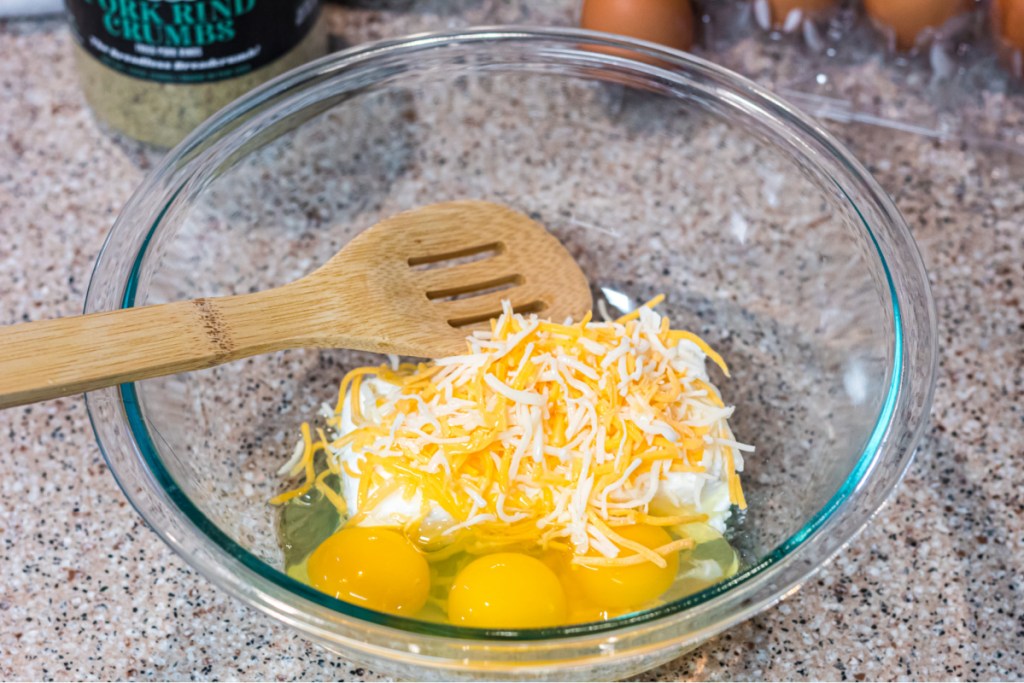
- 8 oz. cream cheese, softened
- 3 eggs, room temperature
- 1/2 cup shredded cheese
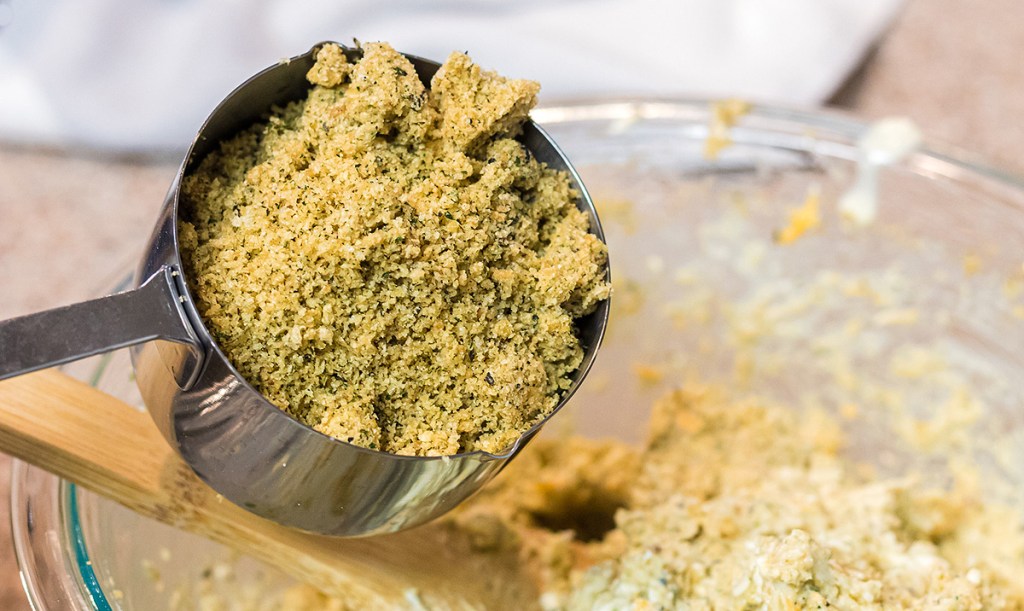
- 1 1/2 cup crumbled pork rinds
Directions
1
Preheat oven to 400 degrees.
2
In a large bowl, add in cream cheese, eggs, and shredded cheese and mix together. Add in pork rind crumbs and continue mixing so batter becomes a thick dough.
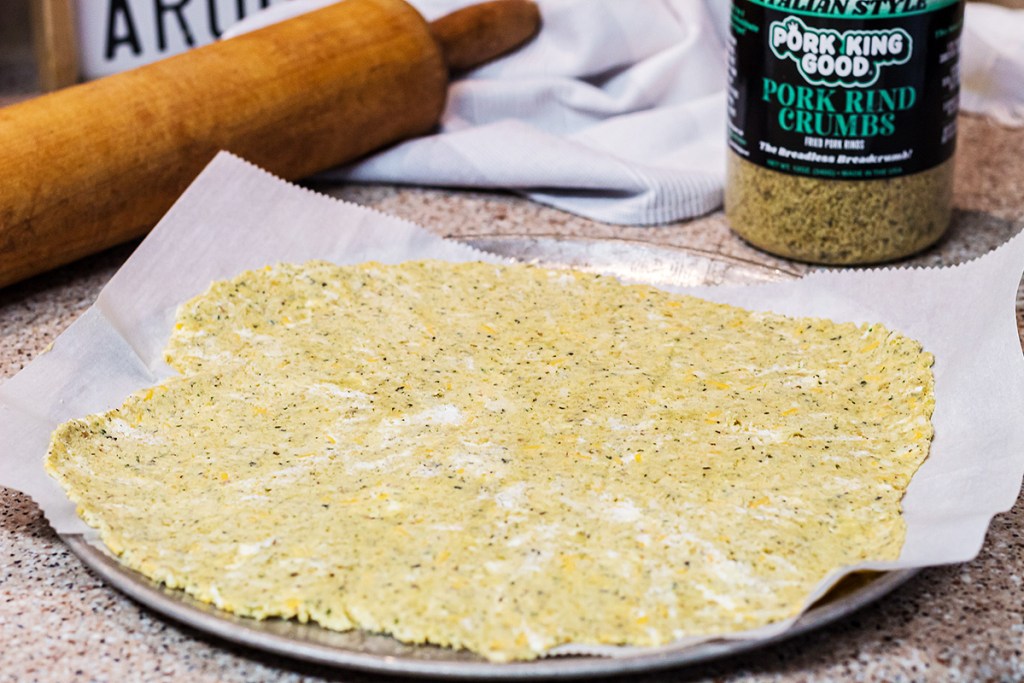
3
Place dough between two pieces of parchment paper. Roll out dough to form the pizza crust (you can also opt to use your hands instead). Place on a greased pizza pan or a parchment-lined baking sheet. Remove top piece of parchment paper and throw away.
4
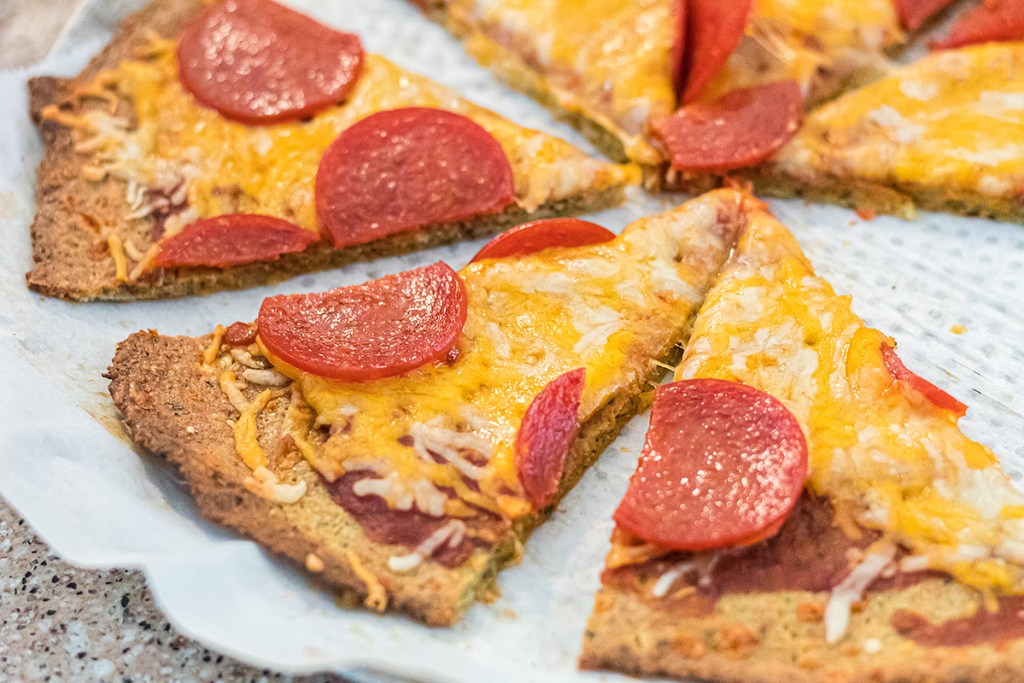
Bake crust in the oven for 20 minutes. After it's finished cooking, remove from oven and apply your desired pizza toppings, and place back in the oven for 5-10 minutes, or until cheese is bubbly.
5
Let cool for 5 minutes. Cut, serve, and enjoy!
Nutrition Information
Yield: 8 slices, Serving Size: 1 slice
Amount Per Serving:
224 Calories | 18.7g Fat | 1.5g Total Carbs | 0g Fiber | 1.2g Sugar | 13.6g Protein | 1.5g Net Carbs
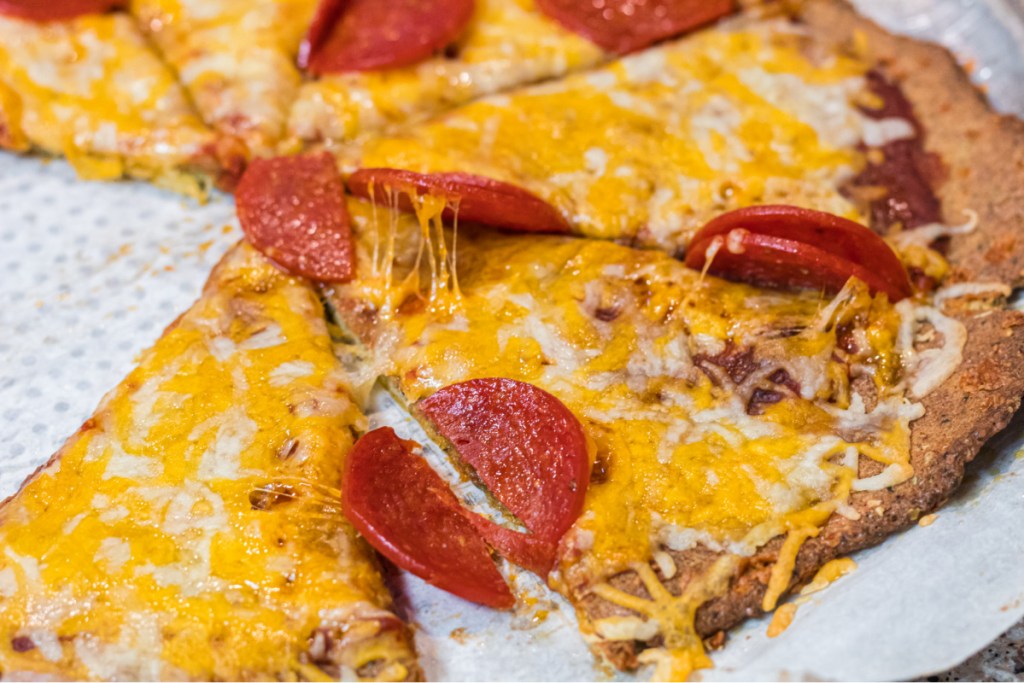
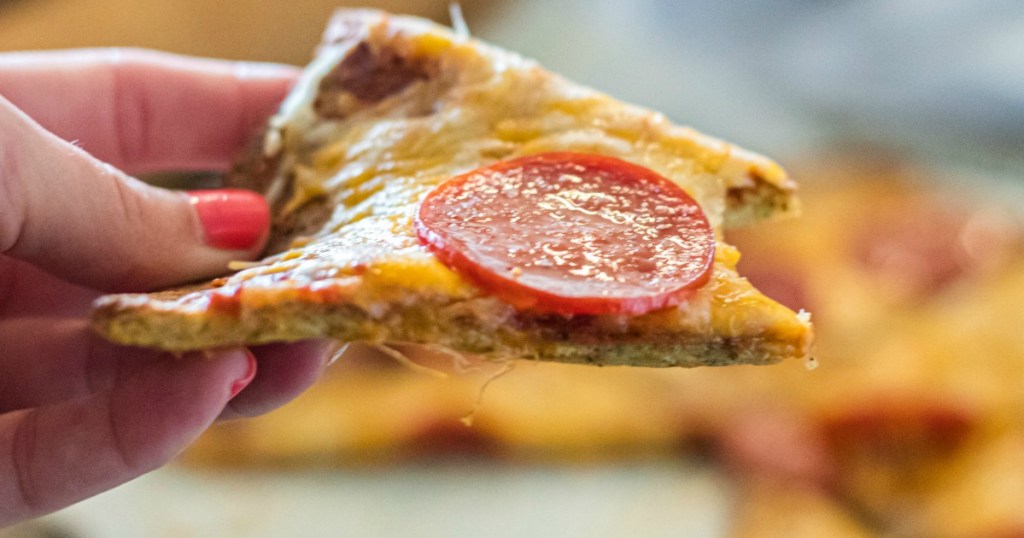
Pizza is served! 🍕
Who knew pork rinds could become the next cauliflower with how versatile they are! You don’t want to miss trying out this tasty pork rind pizza crust, and I bet even the kiddos will go crazy for it.
My team member, Jenna, gave this recipe a test for me and here’s what she had to say:

Really enjoyed this. Much better than the cauliflower one.
this looks really good can’t wait to try it
It’s one of my faves!
Is the nutrition facts for the crust only or does that include toppings and sauce?
Hi Jasmine! This is just for the crust. Hope this helps❤
Thank you🤍
You’re welcome❤
Hey ladies! I followed the directions to a T, and even baked the crust a little longer than 20 minutes. It just didn’t crisp. What could I have done wrong?
Did you roll it thin enough? If you are in a high altitude area, you could increase the pork rinds by one tablespoon as well.
My mother needs some made ahead of time. Can you refrigerate a couple and then top and cook? Thanks.
Hi Mary! I bet that would work. You can also freeze them as we suggest above –
“The crust freezes beautifully! Make a few pizza dough balls or flat crusts and freeze them, so when you’re ready for pizza you can just pull out your dough and you’re ready to go.”
Hope this helps!
This is my favorite recipe for pork rind crust. I increased the amount of rinds but the crust will not get crispy and the underneath is greasy. I use a big pizza pan with parchment paper and roll out dough very thin. Any suggestions?
I would decrease the pork rinds again. They may be adding too much grease to the crust.
Try not using parchment paper the second time you put it in the oven. I find that parchment paper reduces crispness.
Thanks for the helpful feedback, Colleen! Much appreciated! 💕
What diameter pizza does this recipe make, at what thickness of the dough?
Hi there! We don’t have a specific measurement. This is a smaller pizza, making just 8 slices. The top image above gives a good example of the thickness we had with this recipe. Be sure to check out the video above as well, as it will also give you a good idea about the size of the crust. Hope this helps!
No-crack pizza dough! I just made a pizza with this and am eating it right now. It is SO GOOD.
It is far better than the several other keto pizza crust recipes that I have tried! The dough was wetter, which enabled rolling it out with NO cracking, which was truly wonderful.
I only had 6.5 ounces of cream cheese, which I microwaved (1250 Watts) in a small bowl for about 45 seconds to get it really soft, and to help warm my eggs to room temperature. I stirred and beat them together fairly well, but then, after I added the shredded cheese, I got out my handheld electric mixer, added the pork skin crumbs, and got them all extremely well-mixed.
I might have used too much of the crumbled pork skins. I used my Oster blender to crumble some Mac’s Original pork skins snacks and ended up with what looked like 2 cups. I used my fist and barely pressed down on them and suddenly it was only 1.5 cups. So I used all of it. I usually only measure compactible ingredients by weight. Next time I will weigh them.
On parchment paper, with another piece of parchment on top, I rolled out the dough until it was over 12 inches in diameter and about one-eighth inch thick, or less! This dough was SO EASY to work with!
I used my large, thin, wooden pizza peel (paddle) and just slid the parchment paper onto the middle oven rack, at 400 F. Later I realized that I should have put it on a baking pan with sides. The dough bubbled vigorously and stayed very foamy, the rest of the 20 minutes in the oven, apparently by rendering the fat out of the pork skin crumbs. Pools of fat collected around the edges of the crust, precariously close to the edges of the parchment paper. I imagined it spilling onto the hot oven element and starting a fire, haha. It was fine, this time, but I will do it differently, next time, especially since the bottom of the crust also got too dark, from being on only the parchment paper and not a baking pan.
After I used the pizza peel to remove the crust from the oven, I put it on a new piece of parchment paper. I found out, too, that I could pick it up, whole, without breaking it! I put the toppings on and decided to put it directly on the center rack of the oven. That was a slight mistake. I should have at least left it on the parchment paper, because the crust edges and bottom bubbled out a lot of fat, again, which got all over my peel and my oven rack, when I removed the pizza from the oven. Luckily, I had placed a sheet of aluminum foil on the bottom rack, under the pizza. However, the bottom of the crust was so well-done and crispy, already, that I ended up just switching to broil, at about 450 F, until the cheese got a little brown.
This pizza is SO GOOD! I can hardly believe how good it is! Thanks again for this wonderful recipe!
– TomG
Yay! You’re welcome! Thanks so much for letting us know how yummy it turned out! Glad you enjoyed it!
This was a great pizza crust recipe. Thank you!
You’re very welcome! So happy you loved it!
Made this tonight. Yum!!! And yum!! My husband loved it too. I have a propane small oven, so I might bake this pizza crust for 15 minutes next time. 20 minutes was a tad long but it didn’t burn the crust. Thank you for coming up with the recipe. 🙂
Yay! You’re most welcome, Dee! So glad you and your husband enjoyed this! Hoping it turns out a little better for you by reducing the bake time on the crust. ❤️
Didn’t work out for me. I followed the instructions to a tee. I never could get the ingredients to form into a doughy consistency. It had more of a thick oatmeal consistency.
Darn! Sorry to hear you didn’t get the doughy consistency, Byron! You might try adjusting the amount of pork rinds added if you decide to give it another try!
Is there another way to combine ingredients? Hand mixing is killing my arthritis!
You could try using a food processor or even a hand mixer with sturdy beaters to help bring everything together with less strain. Hoping that makes it a bit easier on your hands! 🤗