Introducing the Ketodilla—My Keto Spin on a Traditional Quesadilla!
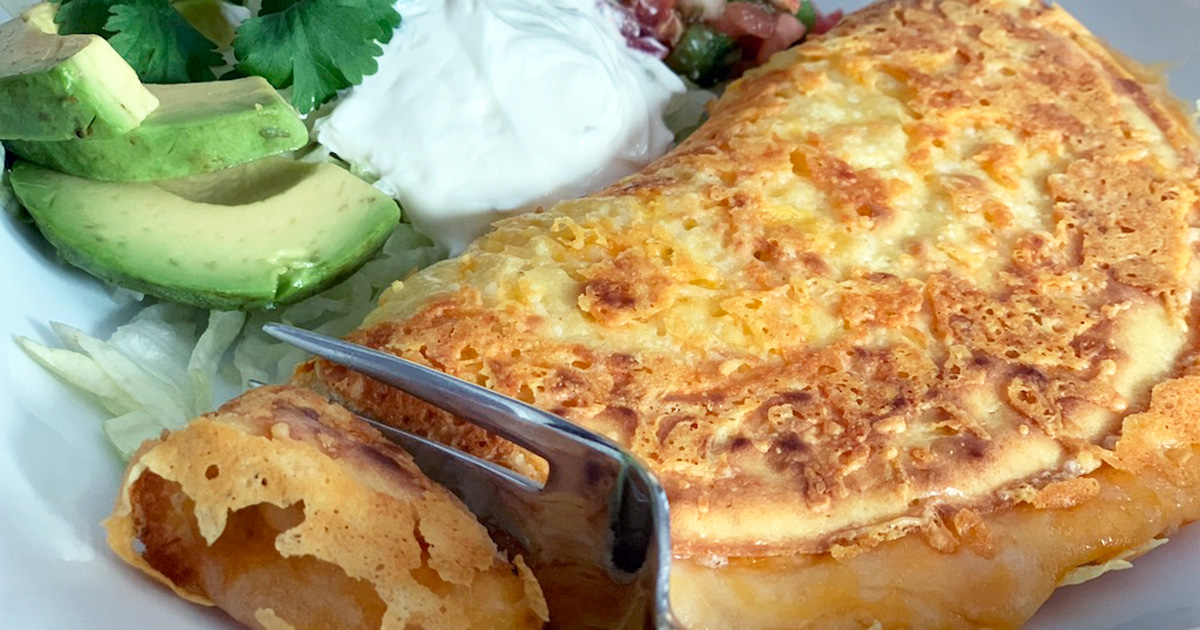
Do you miss pan-fried flour tortillas stuffed with melty cheese?!
If you’re an enthusiast of the traditional quesadilla, it’s your lucky day. I’ve come up with a keto version that possesses all the wonderful things about this Mexican favorite… from the crusty, crisp outer shell to the gooey, cheesy interior—you’re sure to get your fix!
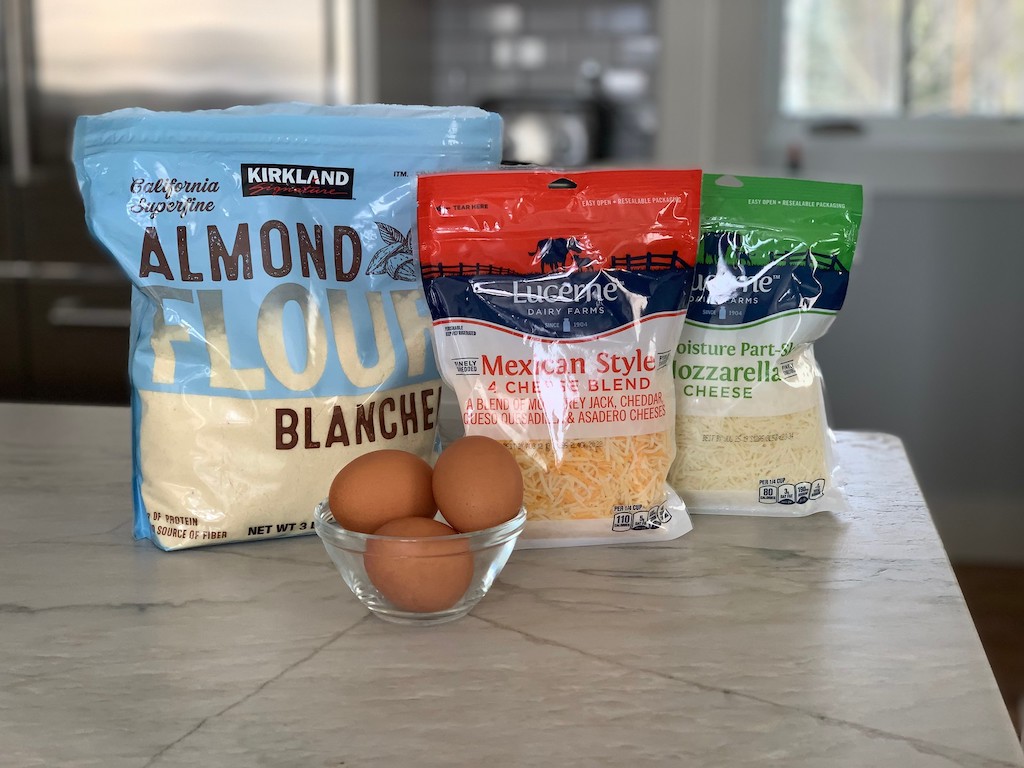
This easy keto quesadilla recipe uses just six basic ingredients!
I came up with this recipe because I was desperate for a lunch and dinner idea that was easy and used items that I typically have on hand. And as much as I love to spend hours in the kitchen, some days simply don’t allow that.
Ketodillas (keto quesadillas) are awesome because the ingredient list consists of only six items (and I wouldn’t be surprised if you already have them in your pantry and fridge): almond flour, an egg, mozzarella cheese, cheddar cheese (or Mexican blend, Colby Jack, etc.), water, and spices. That’s it!

Season your batter with your favorite Mexican-inspired spices and blend until it’s a smooth and even consistency. A mini blender like the Ninja Pro Personal Blender works great!
The thickness of the batter may vary slightly depending on the size of the egg, how packed the cheese and/or almond flour is in the measuring cup, and so on. Use a spatula to scrape the last of the batter into the pan as it likes to stick to the sides of the blender.
If needed, you can always add an extra splash of water if the batter is so thick that it won’t spread out in the pan. Alternatively, if you feel that you’ve added too much water, just cook it a bit longer than usual and the excess moisture should cook out.
Burner temperatures can vary depending on your range model. Err on the side of lower heat—low and slow is the name of the game with this recipe!
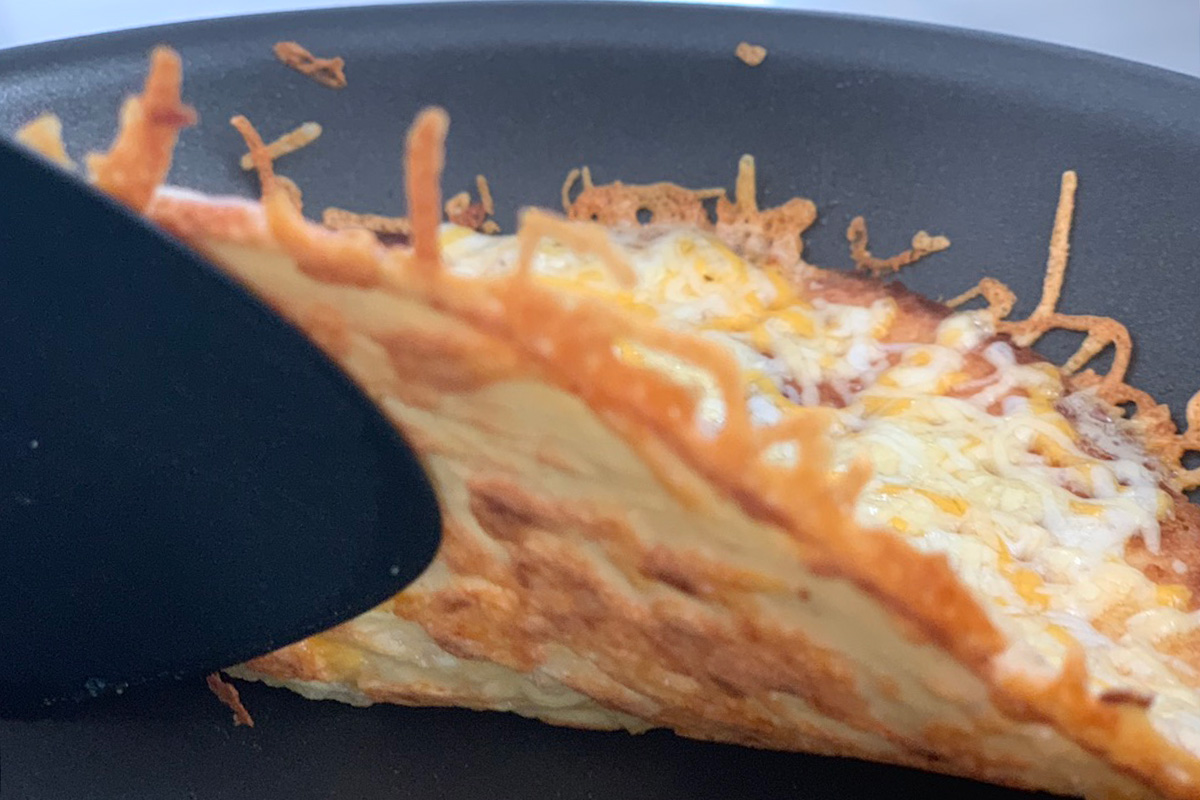
Here are a few of my best recipe tips when making these keto quesadillas –
-
- Use a traditional non-stick pan (like this All Clad Fry Pan) when making keto quesadillas. Ceramic non-stick pans such as Greenpan DO NOT work.
-
- Start with a pre-heated pan, and don’t forget the cooking spray!
-
- After you pour your batter into the skillet, tilt the pan in a circular motion to help distribute the batter evenly onto the cooking surface.
-
- Be sure to add a couple of tablespoons of cheddar cheese before your first flip. This adds a lovely crisp to the outer shell of the final product.
-
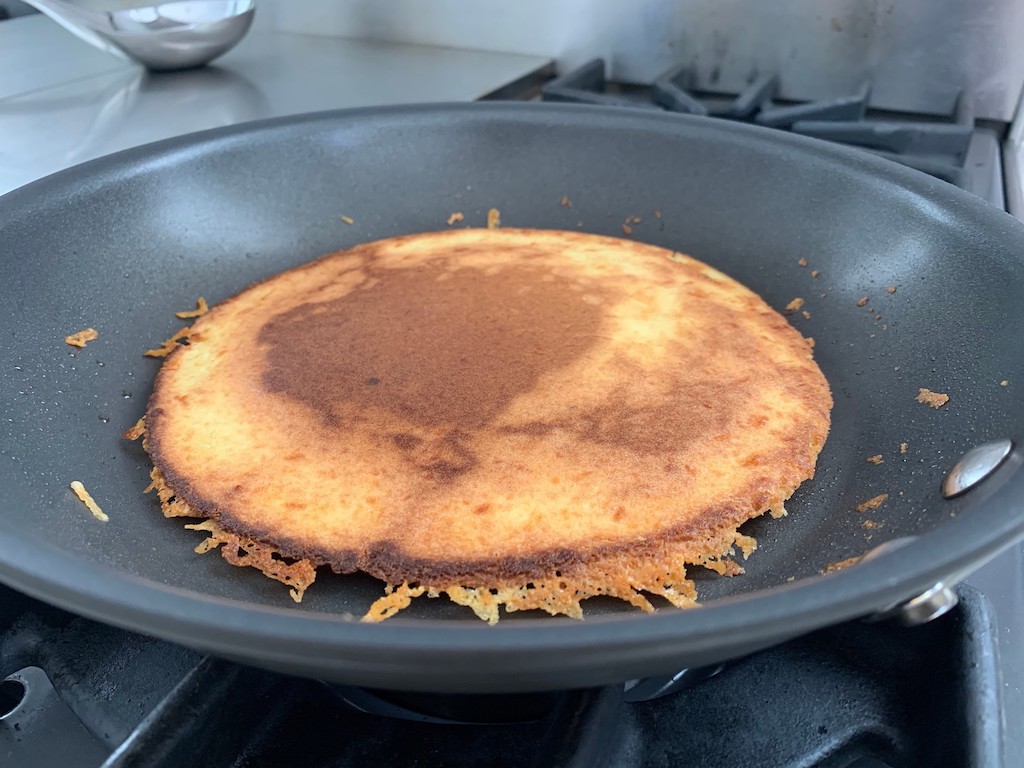
- DON’T FLIP TOO SOON! Make certain that the underside of the shell has turned a deep, golden brown. If you flip it too early, the shell will be too soft.
-
- Don’t fold too fast. Again, check the underside of the shell before you create your final fold. We’re going for golden brown and crispy.
-
- Go ahead and get messy when adding the cheddar cheese. The cheese shreds that end up halfway outside the shell actually add a super yummy crunch as they brown.
-
- If experimenting with customized add-ins, keep the sauce on the side. Adding liquid substances may produce a soggy shell.

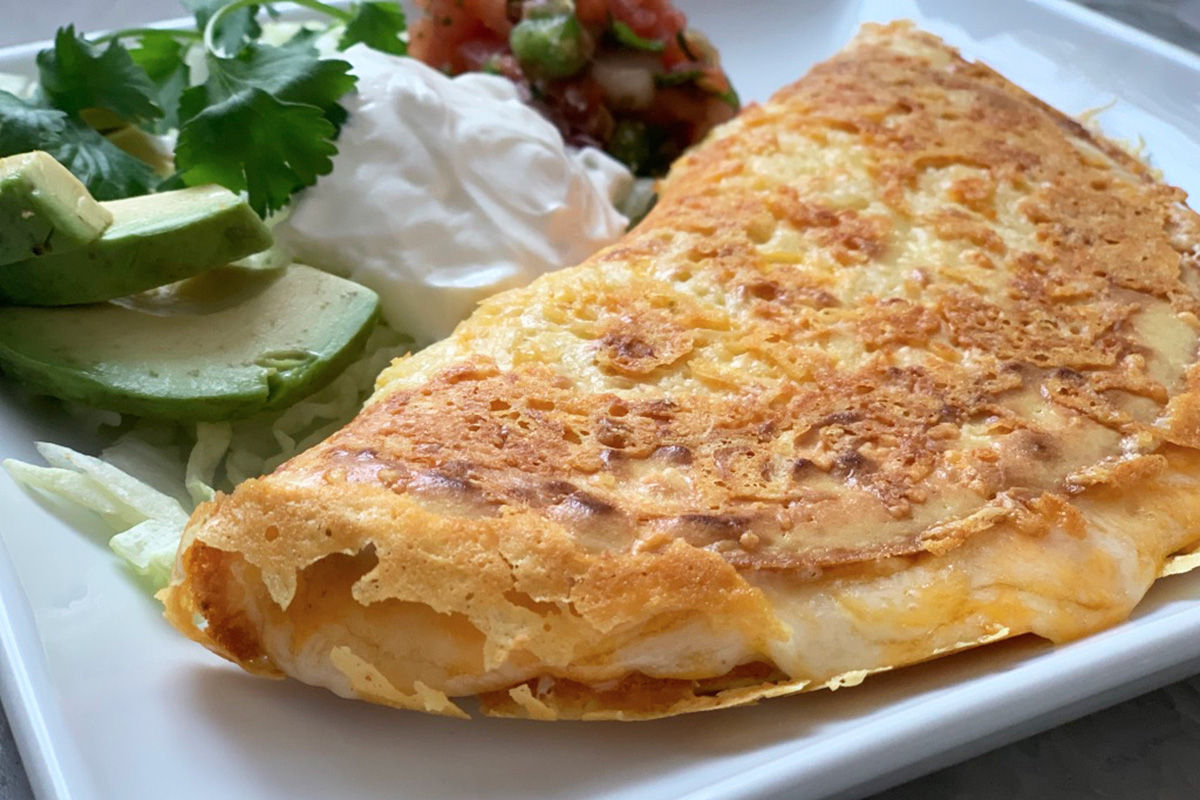
Ketodilla, Low-Carb Mexican Quesadilla
yield: 1 SERVINGS
prep time: 5 MINUTES
cook time: 10 MINUTES
total time: 15 MINUTES
From the crusty, crisp outer shell to the gooey, cheesy interior—you're sure to get your quesadilla fix!
Ingredients
- 1/4 cup almond flour
- 1/4 mozzarella cheese, shredded
- 1 large egg
- 1 tablespoon water
- 1/4 teaspoon spice blend (I typically use a taco style blend)
- 1/2 cup cheddar cheese or Mexican blend, shredded (if you like it super cheesy, add a little extra)
- Additional 2 tablespoons cheddar cheese (or Mexican blend), shredded
Directions
1
Add almond flour, mozzarella cheese, egg, water, and spices to the jar of a mini blender. Blend for 1-2 minutes until the mixture has become an even batter. The mixture will be slightly thick yet still pourable.
2
Heat a 12" skillet over low/medium heat. Spray pan with non-stick cooking spray. Pour the batter into the pan. If needed, use a spatula to scrape batter off the sides of blender jar into the pan. Tilt the pan in a circular motion to help distribute the batter evenly onto the cooking surface.
3
Allow batter to cook for about 4 minutes, then sprinkle it evenly with 2 tablespoons cheddar cheese. Cook for an additional 2-3 minutes or until the bottom of the shell has become a deep golden brown and is crisp to the touch.
4
Using a thin spatula, loosen the shell from the pan by gently scraping and lifting under the edges. Carefully flip over the shell so the cooked side is now on top.
5
Evenly sprinkle 1/2 cup cheddar cheese (more if desired) onto the cooked surface of the shell. Don't worry if bits of cheese end up halfway off the shell, this adds a tasty, crunchy edge! Cook for 2-4 minutes or until the cheese on top is melted AND the underside of the shell is golden brown and crispy.
6
Using a spatula, carefully fold the shell onto itself so that it creates a crescent shape. Lightly press the top of the Ketodilla with your spatula to help the cheeses to mingle together. Transfer from pan onto a plate.
7
Serve with your favorite toppings. We like shredded lettuce, pico de gallo, sliced black olives, guacamole (or fresh avocado), sour cream, and taco sauce!
Additional Notes
If you cook your Ketodilla too fast (whether you increase the temp too much or you don't allow enough cooking time per side), your shell will likely be soft. The key is low and slow to allow moisture to cook out while the shell crisps.
Leftovers can be stored in the refrigerator for up to three days. I like to reheat mine in the air fryer for about 7-8 minutes on 375-degrees.
Nutrition Information
Yield: 1 serving, Serving Size: 1 Ketodilla
Amount Per Serving:
557.8 Calories | 45.2g Fat | 8.8g Total Carbs | 3.2g Fiber | 0.1g Sugar Alcohol | 31.2g Protein | 5.5g Net Carbs

Customize your Ketodilla—The possibilities are endless!
I can’t even begin to tell you all the variations that my family and I have tried. There are so many fun flavors to experiment with! Try one of our favorites or invent your own.
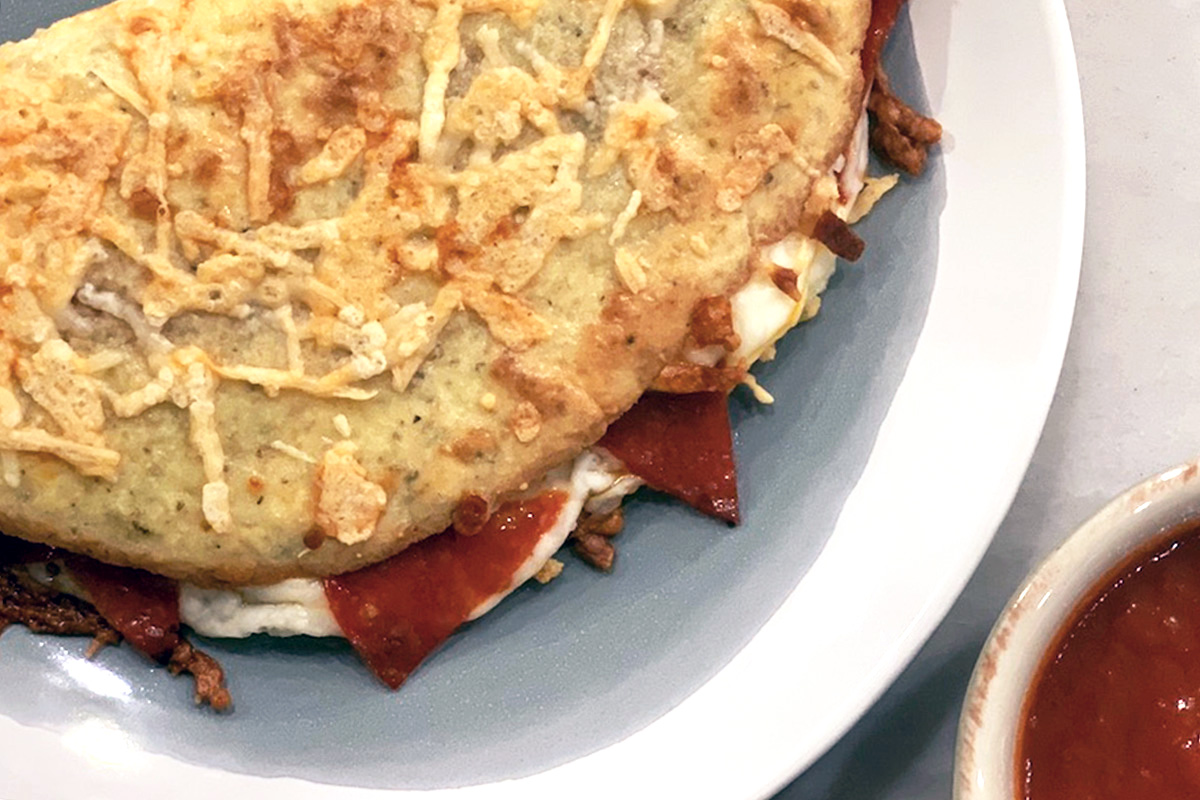
Here are some winning combos:
- Pizza style (aka the Pizzadilla) Shown in the above image — Season the batter with garlic powder, salt, and Italian herb blend. Replace the 1/2 cup cheddar with mozzarella AND replace the 2 tablespoons of cheddar (sprinkled on top before the first flip) with Parmesan. Add pepperoni slices. Serve with a side of no-added-sugar marinara sauce.
- Philly style —Season the batter with garlic powder, salt, and freshly ground pepper. Replace the 1/2 cheddar cheese with shredded provolone (or 2-3 slices provolone). Add finely sliced peppers and onions (I find sauteeing them first helps to eliminate unwanted moisture), as well as chopped (or thinly sliced) steak or deli roast beef.
- Taco style — Add precooked taco meat and finely diced onions. Serve with a drizzle of your favorite taco sauce and don’t skip the sour cream!

Most importantly, don’t give up!
You might not achieve perfection on your first try, BUT with a few Ketodillas under your belt, you’ll master the method.
Serve your Ketodilla with my favorite keto guacamole recipe!

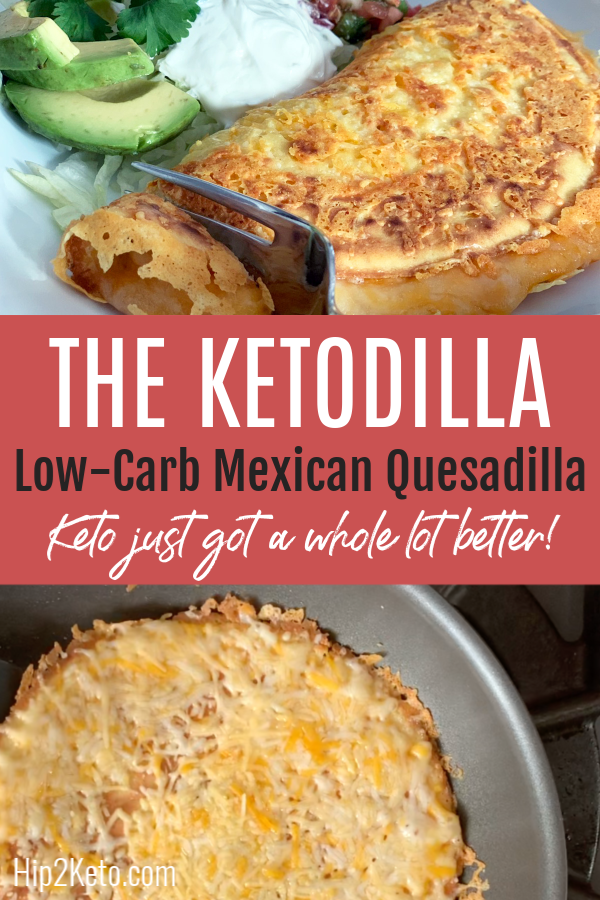
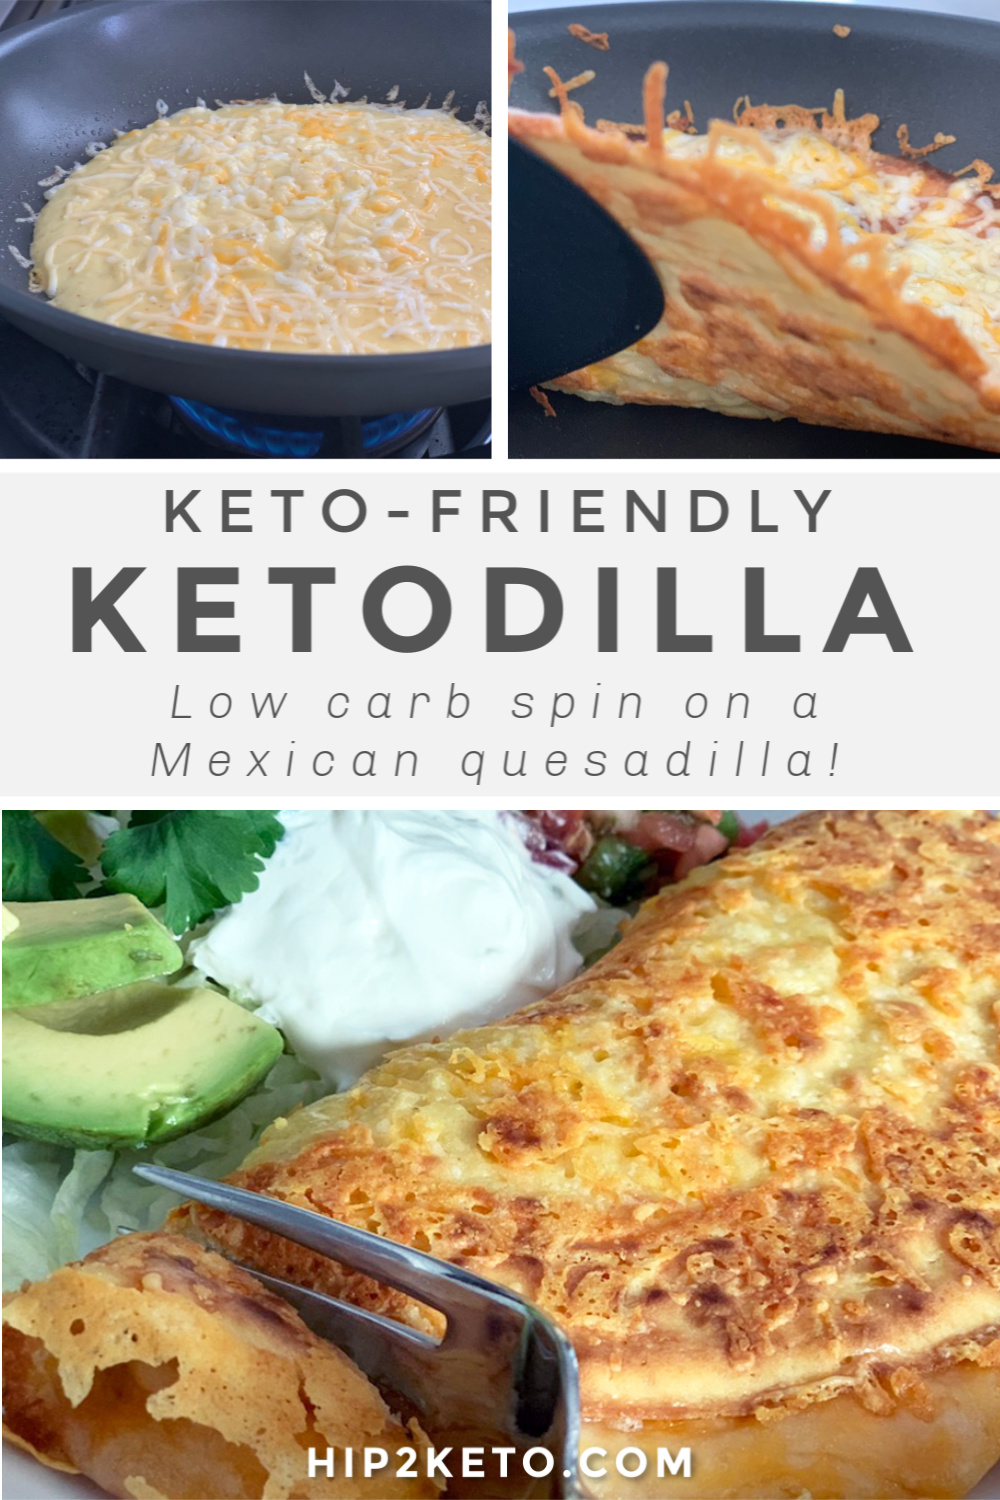
This is delicious! And easy! My vegetarian teenager loved it too!
Yay! I’m so glad it was a hit. My non-keto teen loves them too! 🙌
Should we add water to the dough if it’s too thick? I made a taco ketodilla yesterday and it was amazing but my dough was kind of thick. I was worried about adding water and making it too runny
Hi Cara! First off, I’m SO HAPPY you liked it!
Great question—The thickness of the batter may vary slightly depending on the size of the egg, how packed the cheese and/or almond flour is in the measuring cup, and so on. It is definitely a thick batter… For example, I often use a spatula to scrape the last of the batter into the pan as it likes to stick to the sides of the blender. That being said, you can always add an extra splash of water if it seems so thick that it won’t spread out in the pan. Alternatively, if you feel that you’ve added too much water just cook it a bit longer than usual and the excess moisture should cook out.
I think you’ll find that after you’ve made a few ketodillas you’ll get into a groove and will master the perfect thickness! It took me about five times before I felt like I’d really conquered it—Now I can make them in my sleep! 😉
Thank you so much Marley! You rock! I really appreciate the guidance and support!
Cara, anytime! I’m always here to help!! 😎
Hi there,
Could I freeze “tortillia”?
Hi Kat! We do suggest that the leftovers be stored in the refrigerator for up to three days. You may be able to freeze them as well. Let us know how it works out if you give it a try!
Wow, just WOW! I am so excited for this! I’ve been missing my Mexican food, but now, I can make my favorite carne asada or pollo asada quesadillas! I made a plain cheese ketodilla, just to see how it’s done, and I just finished eating it. YUM! Thank you for saving me, I’ve been falling off the Keto wagon a lot since Thanksgiving, and I don’t want to wait until after Christmas to get back on track! Happy Holidays!
You are so welcome! Good luck as you continue on your journey, Debra! The holidays are so hard!
How many does one batch make
Hi Angela! This makes 1 serving.
1st time making for lunch today! Really Good!!
So glad to hear that you liked it, Kathy! Thanks for letting us know!
I made this Ketodilla today for the first time, and I have to say that I was impressed because some of the recipes that include almond flour do not always impress me, flavor wise. I added chopped deli roast beef and pepper jack cheese…very enjoyable!
I’m glad this really was something you liked, Susan! Your version sounds yummy!
This is delicious and tastes just like what I remember the non keto version tasting like. It is sooo filling. I could not finish it and had to come back on here to check that it was just one serving. Also love that the ketodilla is so easy to make.
That’s so great to hear, jessica! I’m glad you love it and found it filling!
Can we use coconut flour instead?
Hi Maria! Here is our guide to all of the best Keto flours and how to use them – https://hip2keto.com/tips/gluten-free-keto-flours-recipes/
Hope that helps!
Can you double the recipe if you want to make 2 or more?
Yes! Just make sure it’s well mixed and you use only half of the mixture in the pan for each one.