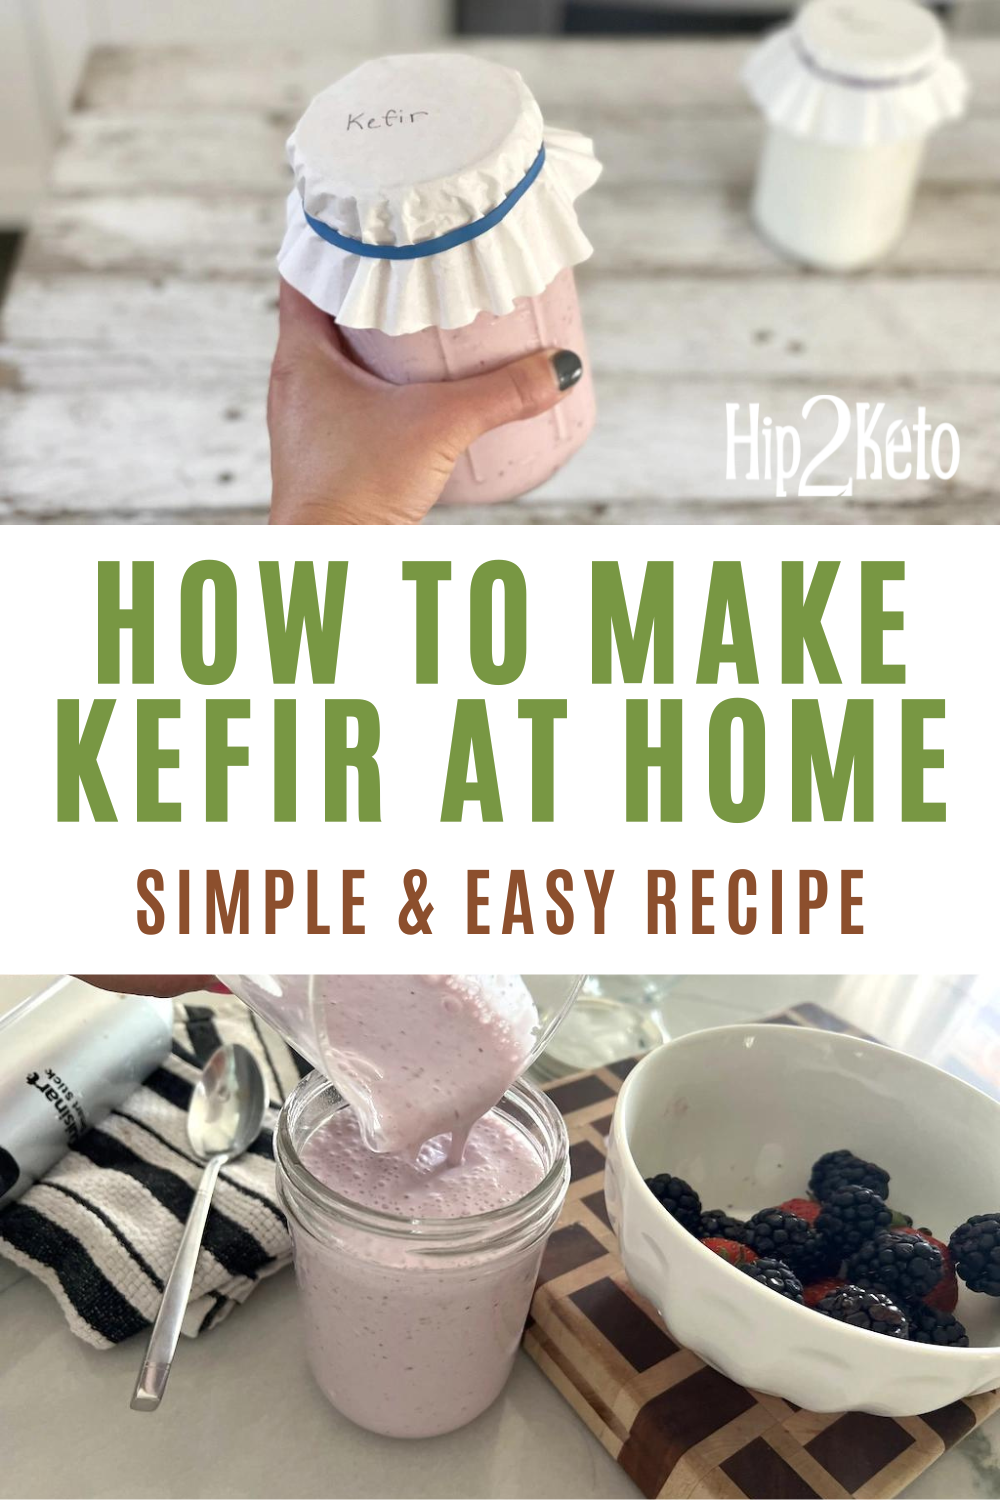
How to Make Kefir at Home (So Easy and Keto-Friendly!)
Ever wondered how to make kefir at home? The super simple process will save you carbs and money!
Curious about how to make kefir yourself?
First of all, you might be wondering, “What exactly is kefir?”. Kefir is milk that’s been fermented by kefir grains. Kefir grains aren’t actually “grains”, but rather a community of yeast and bacteria that feed off the lactose (sugar) that’s in milk. To me, they look like a mix of cottage cheese and cauliflower. If you’ve made kombucha at home with a SOCBY, it’s a very similar process.
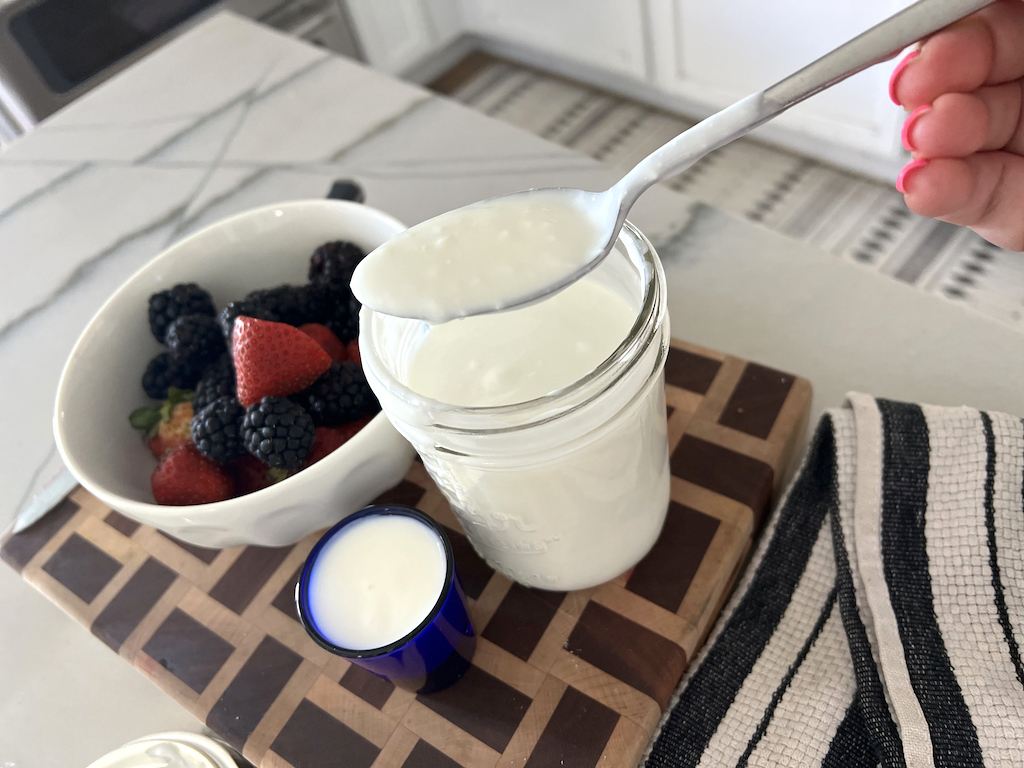
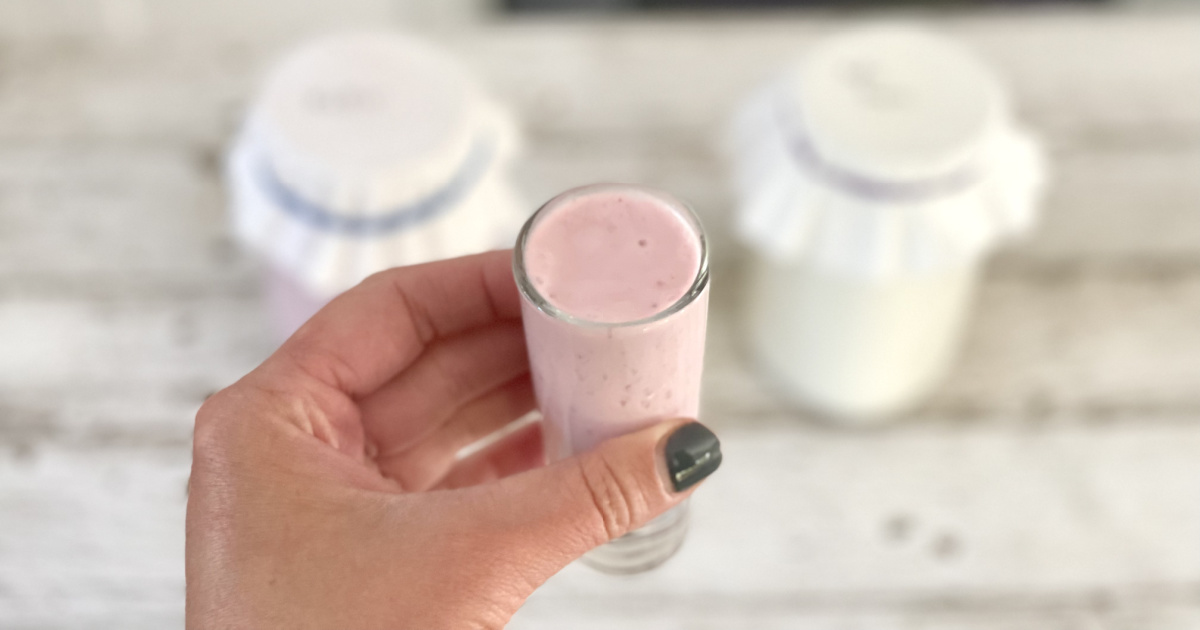
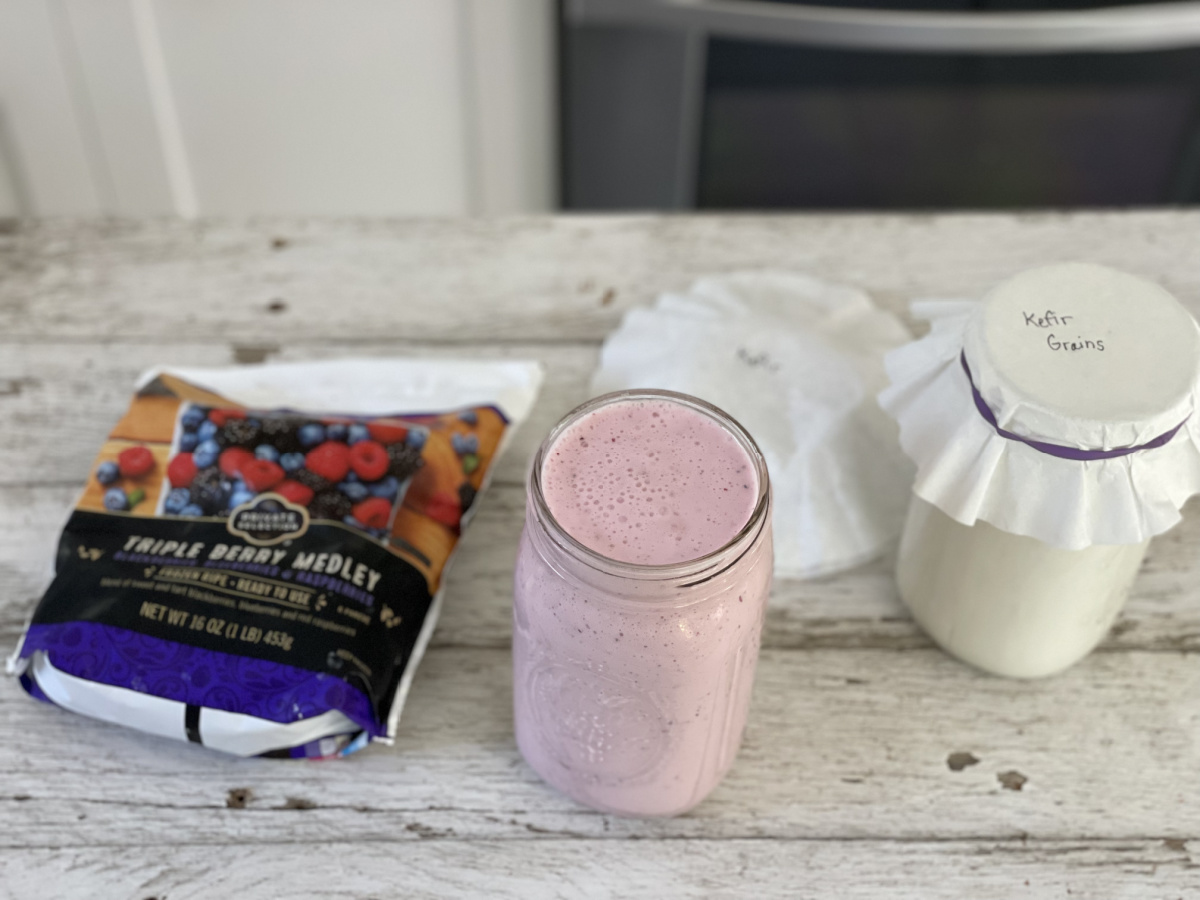
If you haven’t had kefir, think of it as drinkable yogurt. It naturally has a thick creamy texture, similar to a smoothie, while tasting very much like yogurt, just a little tangier. You can leave it plain or flavor it. My favorite is to add in frozen berries, vanilla, and a little bit of keto sweetener.
People tend to drink kefir for the health benefits they get from the vast amount of probiotics it contains. It has way more probiotics than regular yogurt. Research even shows that kefir can have beneficial effects on a number of health conditions such as cancer, heart disease, obesity, metabolic diseases, diabetes, digestive issues, and even possibly viral infections like COVID.
The best part? You can make it at home, and it’s super simple!
Kefir is very easy to make at home — trust me! The process starts with sourcing some kefir grains. I actually got my grains from Craigslist about 10 years ago, haha! But you can easily order them online or find them at specialty health food stores. Cultures for Health is a great online resource for home fermentation and they have a great kefir starter kit.


Easy Homemade Kefir
yield: 16 SERVINGS
prep time: 5 MINUTES
total time: 5 MINUTES
Make kefir at home with just two ingredients!
Ingredients
- 4 cups whole milk (NOT ultra-pasteurized)
- 1 tablespoon kefir grains
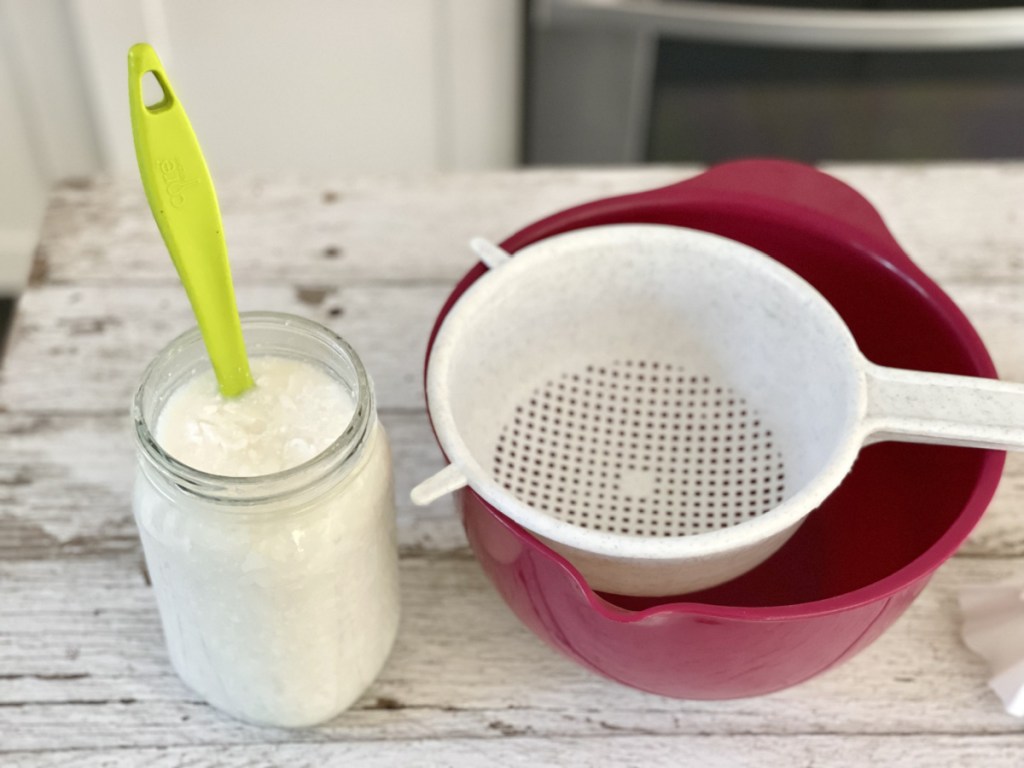
Equipment:
- 2 quart-sized mason jars
- Mesh strainer, plastic (not metal)
- Silicone spatula
- Coffee filters
- Rubber bands
Optional Berry Flavor:
- 1/4 cup berries
- 1 teaspoon vanilla
- 1 tablespoon keto confectioners sweetener
Directions
1
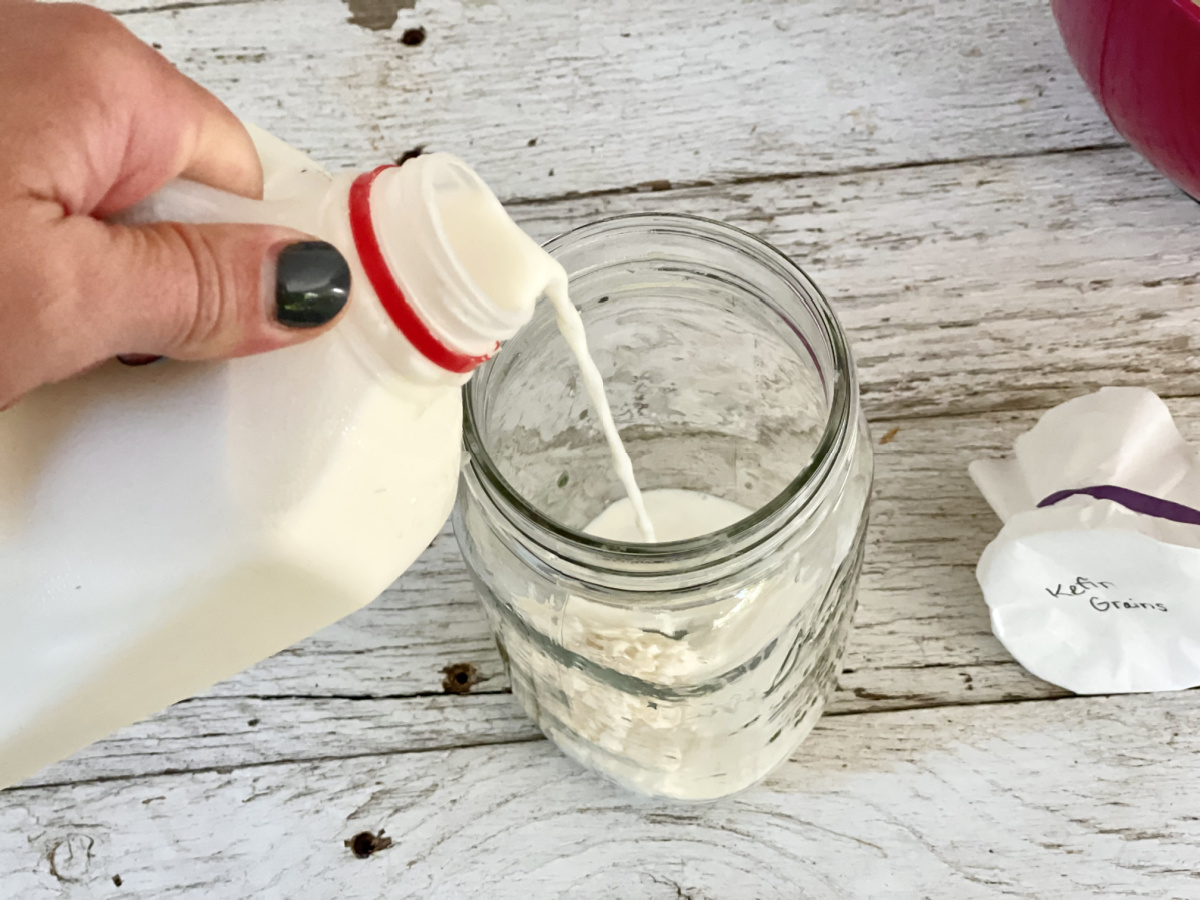
Place kefir grains in a quart-sized mason jar. Add 4 cups of milk to the mason jar with the kefir grains.
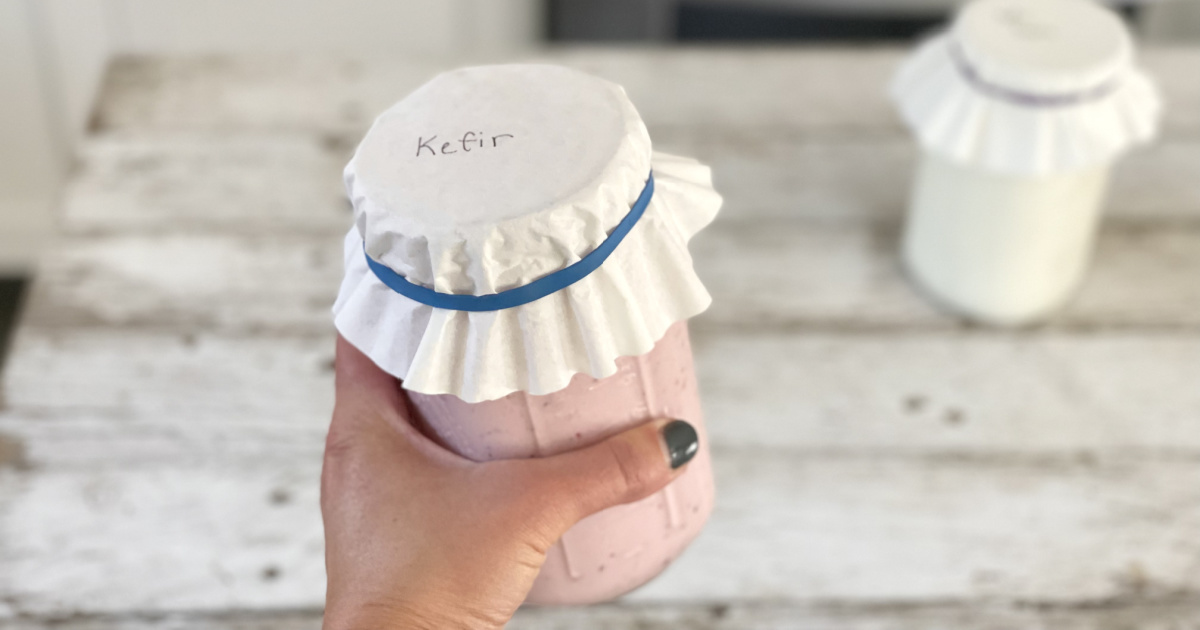
2
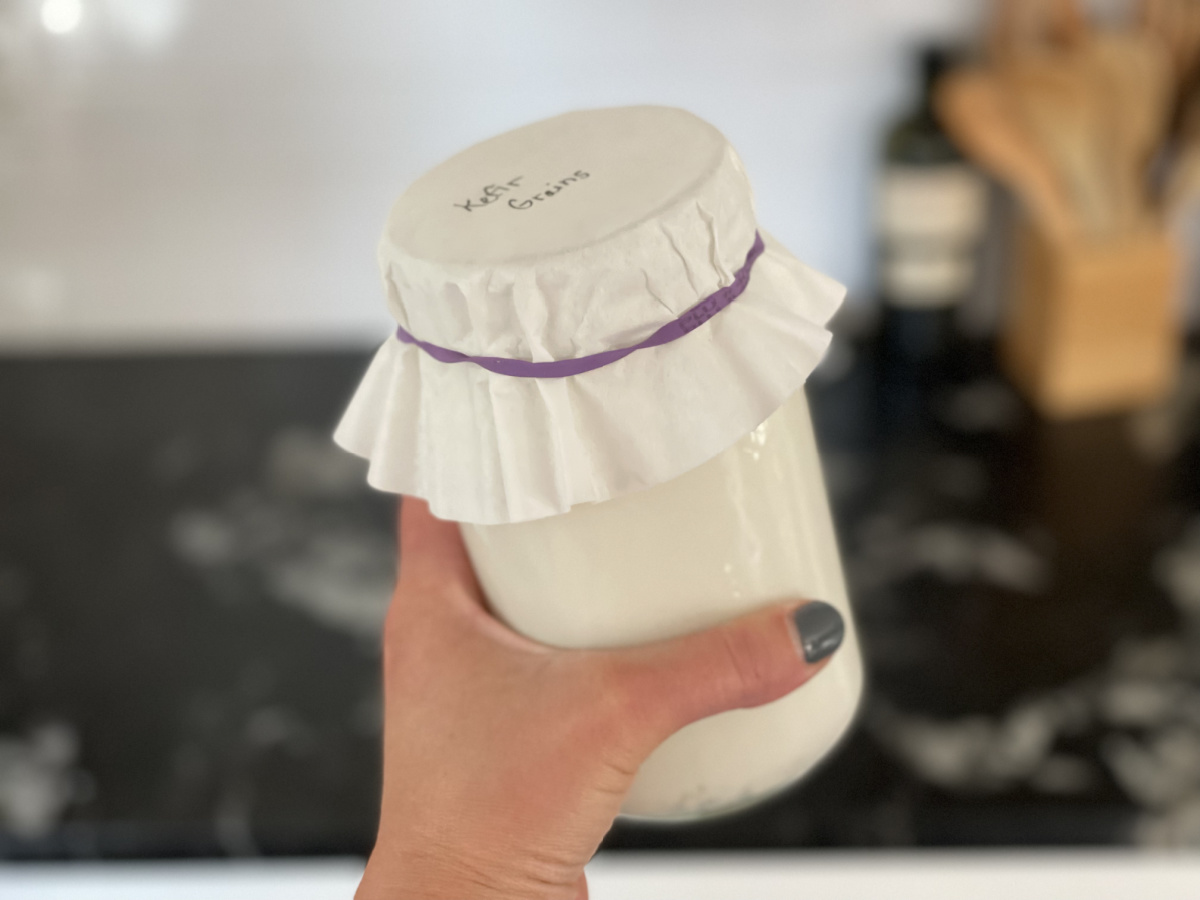
Cover the mason jar with a coffee filter (I usually use two) and secure it with a rubber band.
3
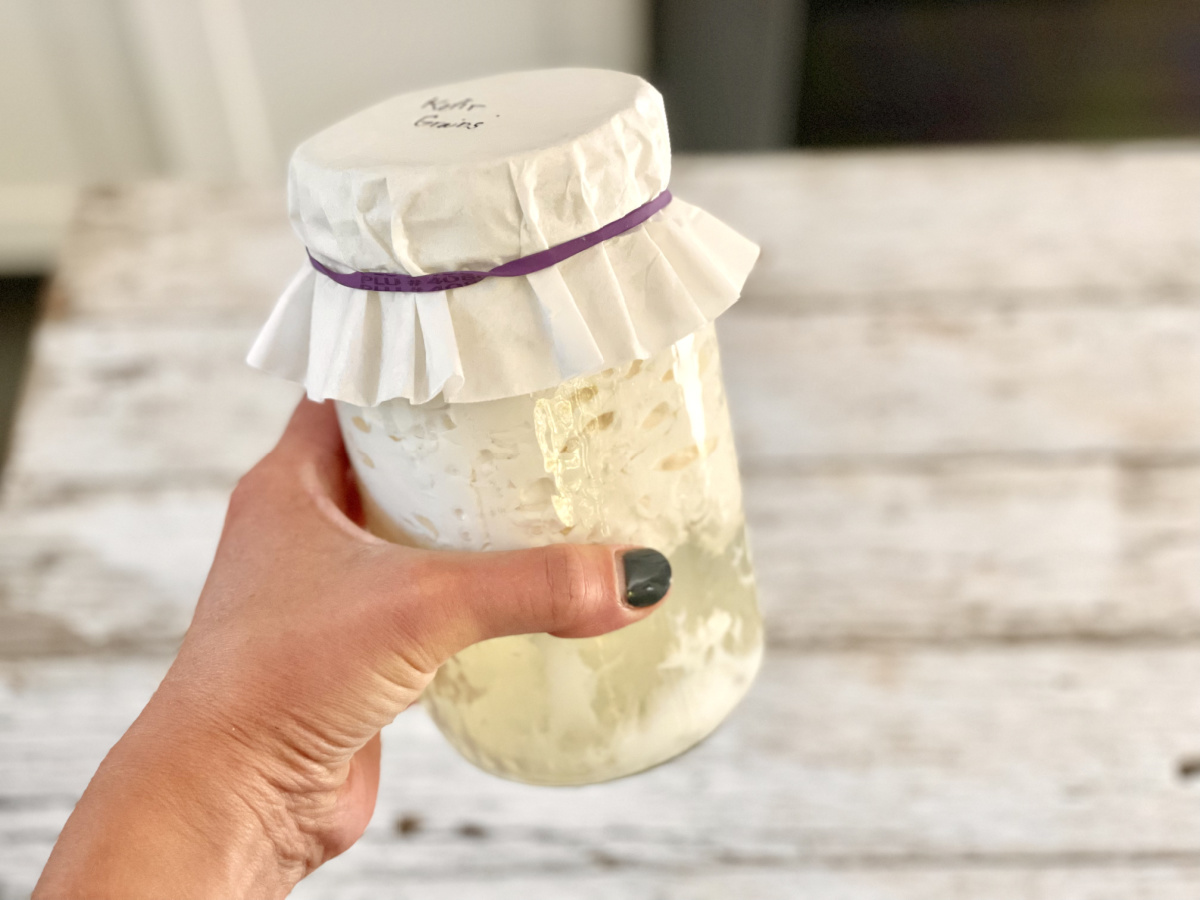
Leave the jar with the milk and kefir grains on the counter at room temperature to allow it to ferment. This can take anywhere from 1 to 5 days, depending on the temperature of your kitchen. For me, it typically takes 2 to 3 days. It took Lina 4 to 5 days.
*You can slow ferment the kefir in the fridge for about a week as well. Take the kefir out of the fridge and leave it at room temperature for 4 to 24 hours before straining out the grains.
4
Things to look for while your kefir ferments:
- The kefir is ready when you start to notice it separating. You'll see a clear layer start to form in the jar. The longer you let it ferment, the stronger, tangier flavor you'll get from it. It'll smell a little "yeasty", like fresh bread dough.
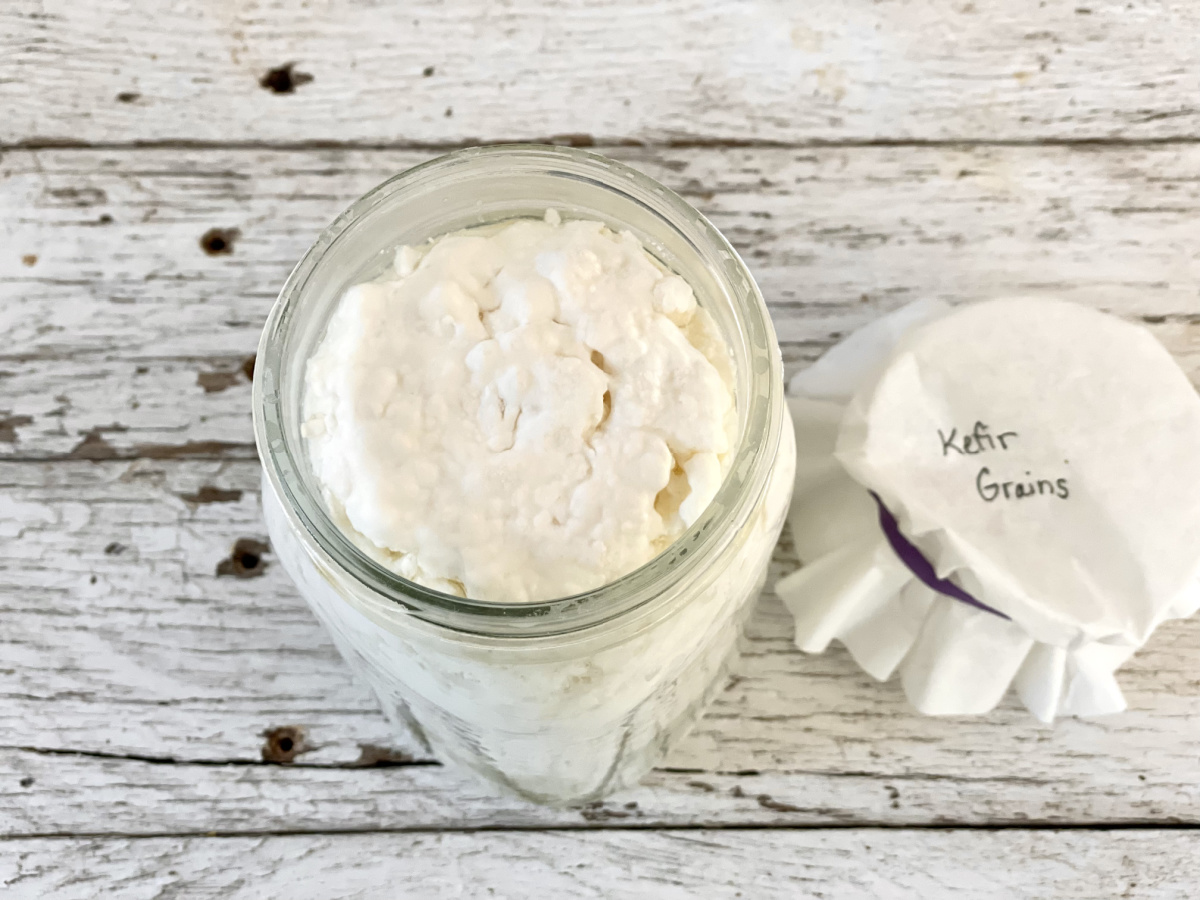
- You'll also notice a white "film" layer. This is perfectly normal. It's not mold.
- If your kefir gets moldy, it'll look like bread mold and will be blue or reddish in color. If this happens, you'll need to toss the kefir. Keep the grains though and rinse them before starting a new batch.
- If your kefir continues to be moldy, you may need to get new grains.
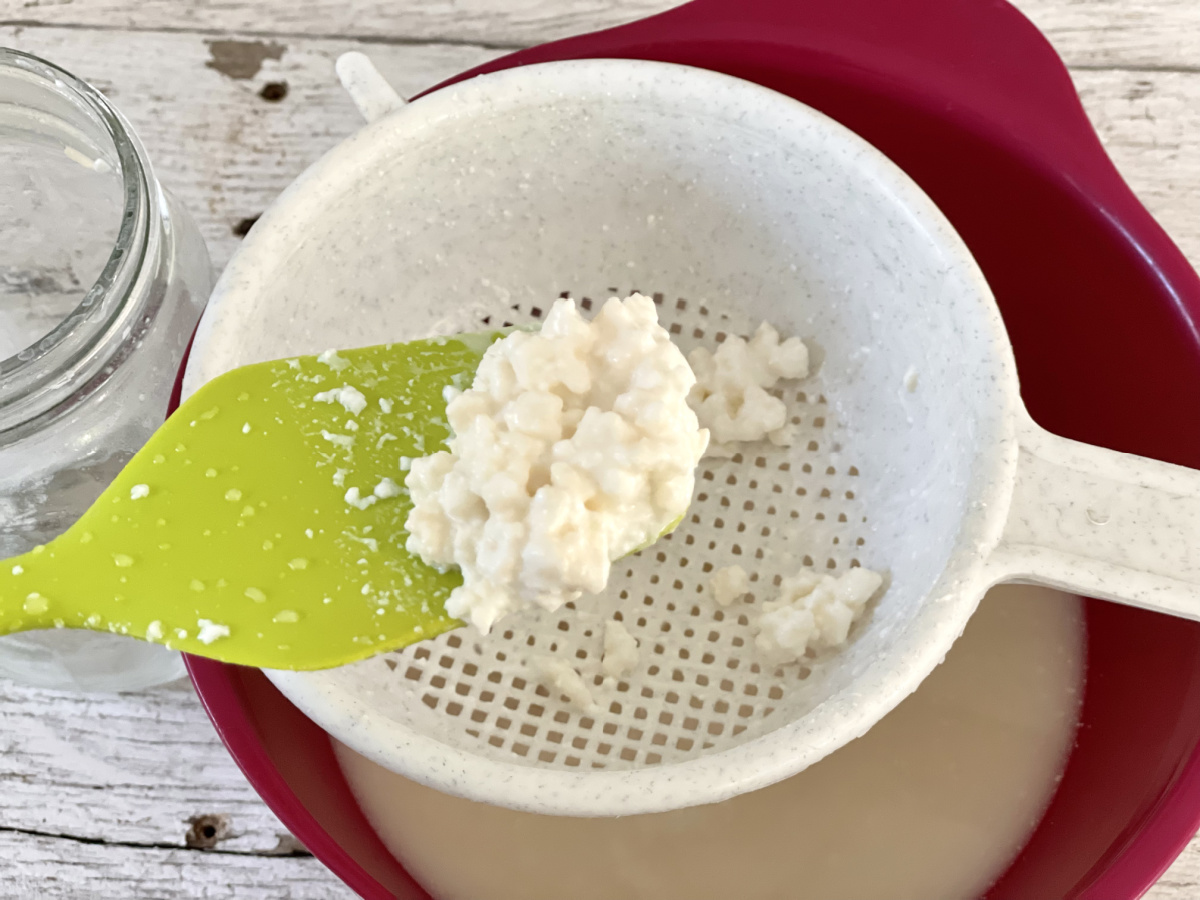
5
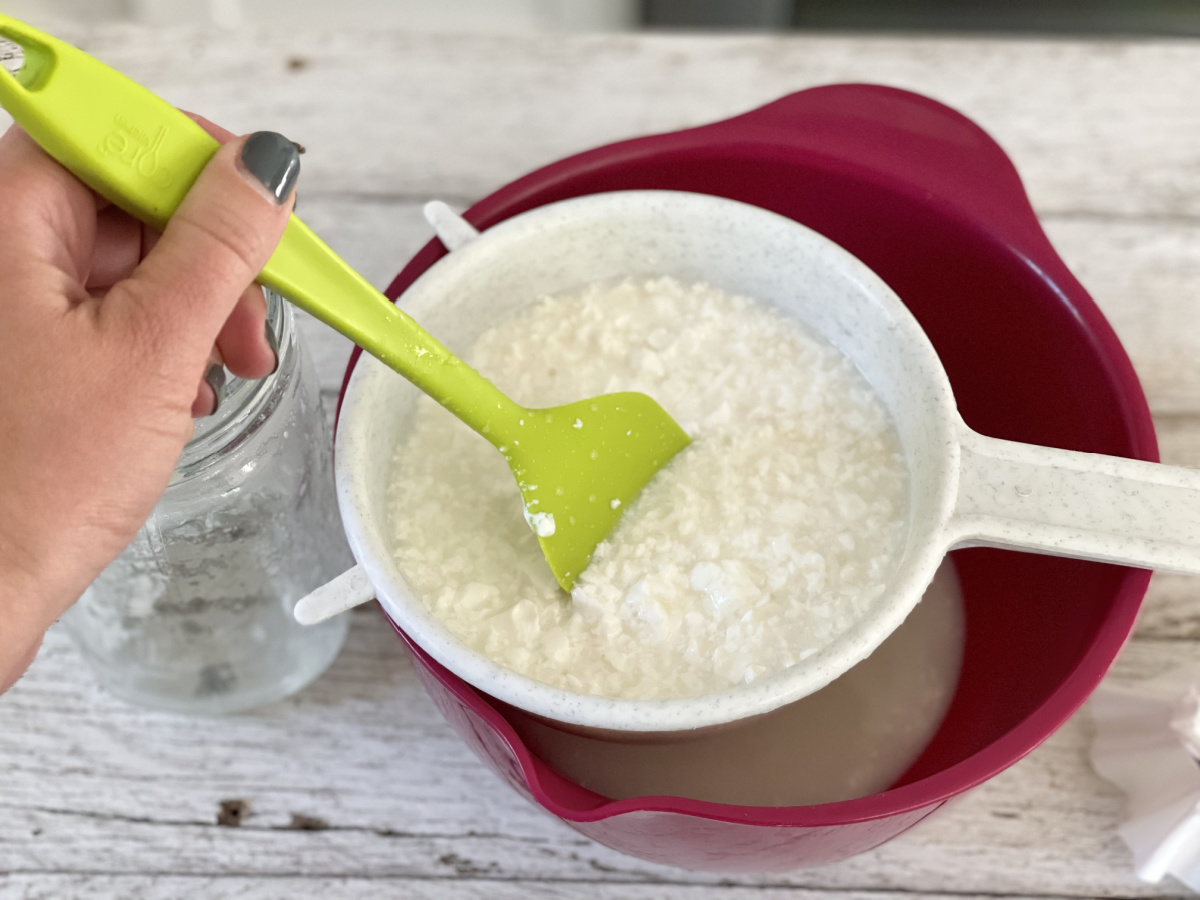
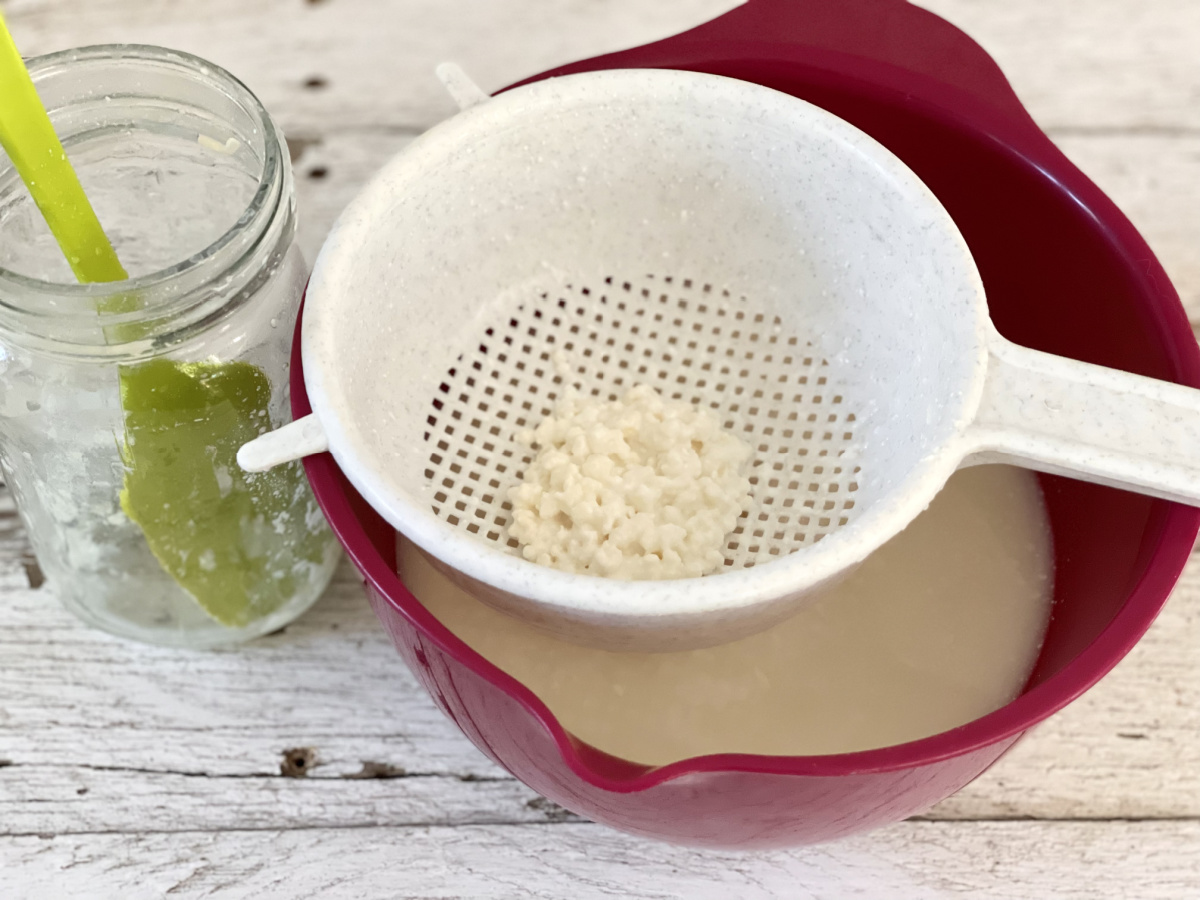
Once the kefir is ready, you'll strain out the grains. Place a plastic strainer over a bowl. Stir up the kefir with a silicone or plastic spatula and pour it into the strainer. The kefir will drain through and the kefir grains will remain in the strainer.
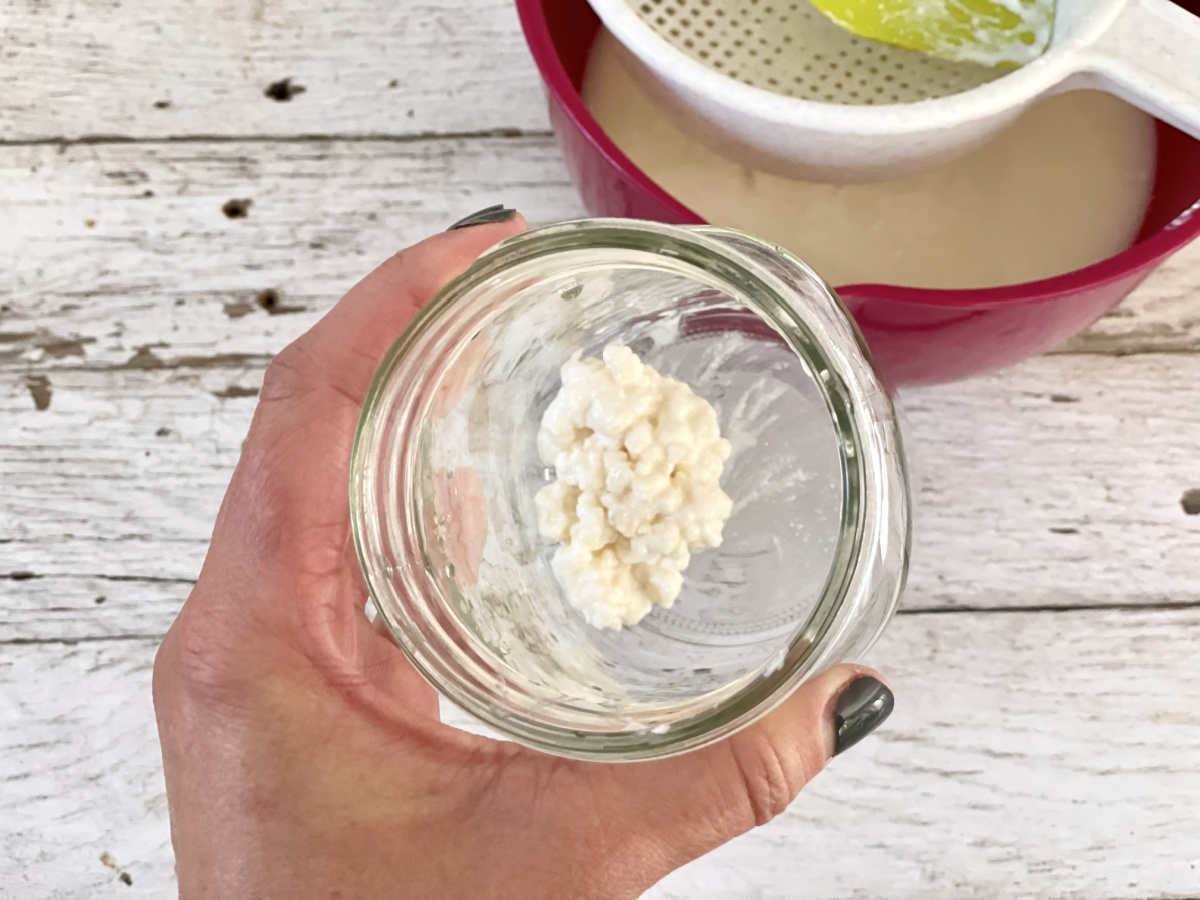
6
Rinse out the mason jar that had the kefir in it. I just rinse it with water and never use soap as I don't want any soap residue to interfere with the fermentation process. You could rinse the jar with vinegar. Place the kefir grains back in the mason jar and fill with milk. You're now ready to make another batch of kefir!
7
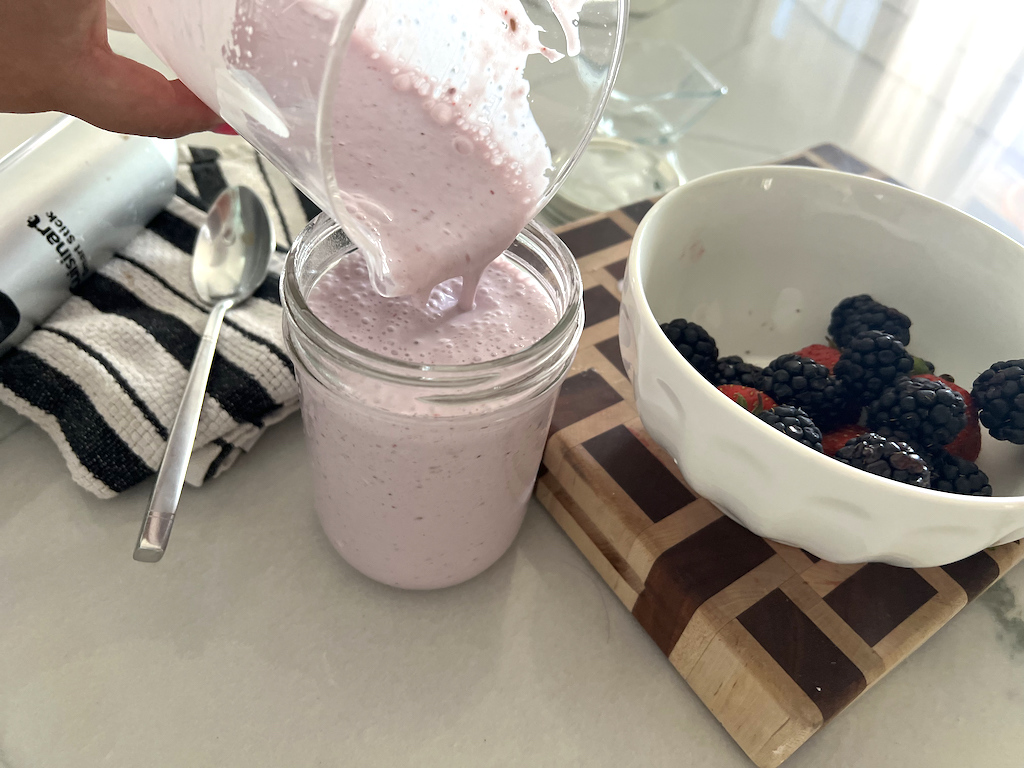
Take the ready kefir that was strained into the bowl and pour it into a clean mason jar. Place the mason jar in the fridge. Once chilled, the kefir is ready to consume. You only need about 2 oz. a day to achieve health benefits.
8
Want to add some flavor to your kefir?
Blend the whole batch of kefir (about 4 cups) with a 1/4 cup of fresh or frozen berries. You can also add in 1 to 2 tablespoons of a keto sweetener and 1 teaspoon of vanilla. Enjoy!
Additional Notes
The number of carbs in homemade kefir will vary depending on how long you let the kefir ferment. It is estimated that 1 cup of plain, whole milk kefir has 4g to 8g of carbs while 1 cup of whole milk has 12g of carbs. The nutrition information for this recipe post uses 8g of carbs per 1 cup of homemade kefir.
*Nutrition information is for plain kefir.
Nutrition Information
Yield: 16 servings, Serving Size: 2 oz.
Amount Per Serving:
34 Calories | 2g Fat | 2g Total Carbs | 2g Sugar | 2g Protein | 2g Net Carbs
Tips for making kefir at home:
- Get some kefir grains! Cultures for Health has a few starter kits. They even have water kefir if you can’t do dairy.
- I recommend using whole, organic milk, but the organic aspect is not a requirement. Do not use ultra-pasteurized milk as the ultra-pasteurization process can kill off nutrients that the kefir grains need for fermentation. Regular pasteurized milk is fine to use.
- Do not use metal when making kefir. Kefir is acidic and will react negatively with metal. Make sure you use a plastic or nylon mesh strainer.
- Kefir grains will survive forever if you take care of them! They’re kind of like having a pet. 😄
- Kefir for everyone! The kefir grains will multiply over time and you can “gift” them to your friends and family for them to make their own recipe at home — just send them a link to our recipe or print it off for them!
Drink up!
If making kefir isn’t your thing, you can purchase it at the grocery store typically in the dairy aisle, next to the yogurt. However, the problem with premade ones is that the flavored varieties are full of added sugar. You could find plain kefir instead and sweeten it yourself!
You should also note that storebought kefir is a bit more expensive as well, and making kefir at home is a much more affordable process. So not only can you control the flavor and sweetener, but you can keep control of your budget too!
Here’s what my Hip sidekick Lina thought about homemade kefir:
“Wow, this was so interesting to make! It worked perfectly and was so awesome to now have keto kefir that was honestly simple to make on my countertop. I used my yogurt strainer and that worked out well. I wasn’t sure what to expect, and it tastes similar to yogurt but without the added sugar. I love how it tastes with the added berries. YUM! Creamy and super smooth tasting.”
Need more probiotics in your life? Check out our guide for the best keto yogurts.

Hi there, I would like to use coconut milk to make kefir is this ok, I didn’t think milk was Keto friendly?????
Hey there! You can, however you would need to get specific kefir grains that are made for coconut milk. The kefir grains need the lactose from the milk to feed off of to ferment. Whole milk is okay on keto, it’s the amount you drink that matters. Hoping that might be helpful! ❤️❤️